Hey what’s going on?!
This is Part 3 of our How To Paint A Car Series. Watch the video as I continue work on the Mazda Miata Project.
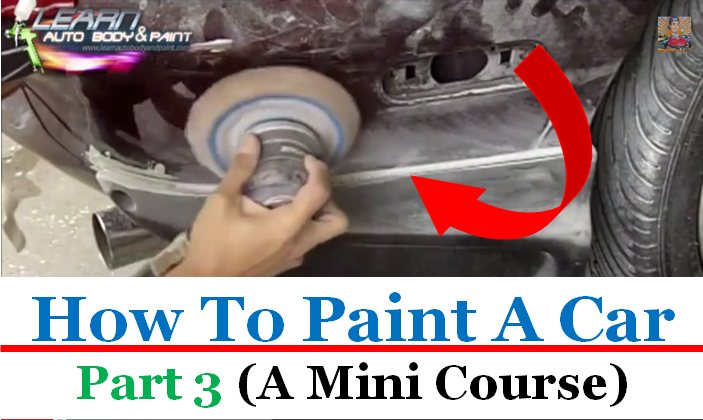
Just so you know, to save us some time instead of doing it by hand, we used a DA Sander. If you’re comfortable using it, then very well, do so. See how we got it all flat in the video.
Don’t stay in one spot too long because you will start to cut the body kit down since it’s fiberglass and 80-grit sandpapers cut through it pretty quickly. So just get it down nice and until you get it shaped right.
As you watch the video, you will see what I did with the side skirt. The side skirt wasn’t the flattest so what I did was, put a fresh 80-grit on the DA and then I just kept it flat and went back and forth on it and that’s how you’re able to see the high and low spots.
So as you see, the white area is the high corners of the body kit and the dark areas are the low spots in the body work. You just have to go over it, see your high and low spots. Sometimes, if you sand it out long enough, it will start to level out because this was a very minor ripple but we want to get it nice and straight. You’re going to see that in the reflection of the body kit when it’s nice and glossy and painted.
For areas that were too bad or too low…what we did was, we put some putty over it – a skin coat of putty then sand it down so we could fill it.
This was just to give you a preview on this.
In the LearnAutoBodyAndPaint VIP Course, we get ton more in-depth, show you so much more how body work is done. Every project is unique, you may have a project similar to this or totally difficult.
Here what we’re doing is molding in the rear spoiler into the body. We’re using a special kind of epoxy that bonds the metal and plastic and fiberglass. And we molded it all in together to look like one piece. Wait till you see this thing when it’s done. It looks really, really nice.
So don’t forget to check out the VIP Course right now. I’m giving away a FREE 85-Page Auto Body and Paint Manual that you could basically take and use as your cheat sheet guide when you’re working on your projects and check out the site. There’s a ton of blog posts, videos and if you want to get expert status and go crazy, check out the VIP Course.
We have thousands of members worldwide. I think you’re really, really gonna like it. This is an old clip of an old project that we did. We have tons more projects inside the course that I think you’re really going to enjoy, much better video quality and all of that. And we’re continuously adding new videos and products, every single year.
Thanks for watching the video. Please Like, share, comment because I’d love to hear your thoughts!
I’ll see you inside!
– Tony
Other Helpful Links:
How To Auto Body And Paint Q&A – Part 1
DIY Auto Body Work And Painting Q&A – Part 2
How To Paint Cars – Q&A Part 3
How To Pinstripe A Motorcycle Tank
How To Paint A Motorcycle Yourself
Preview Finished BMW Body Kit Video
Warwick Spray Gun Review (what we use to paint at LABAP)
hi Tony, you are really a no bs guy. I’m 68 years old and did many street rods in my time and I have to say , I’ve learned a lot of new things from your videos. I missed out on your specials due to long hospital stay. But keep putting out those videos!
Thank you Ralph. Comments like this make it all worth it. Stay cool buddy.