Hey, it’s Tony. Thank you for checking out my video and reading the blog today. This is all about how to repair and paint your truck – Part 1.
So, this is going to be a three to four part video series on my godfather’s 1998 Dodge Ram Project. You’re going to learn a lot out of this. It’s basically me teaching him a little bit of bodywork.
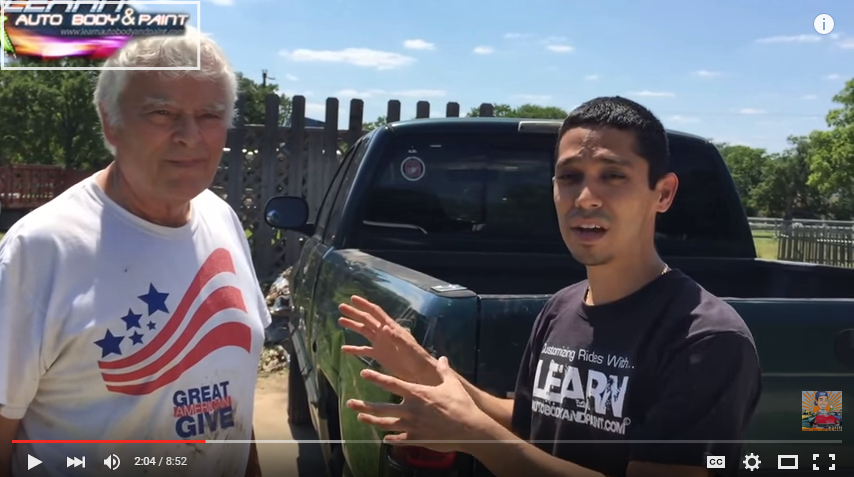
He’s never done it before. You’ll see me teaching him how to use the tools, what to do and all of that. But if you want a complete detail of this series, be sure to check out LearnAutoBodyAndPaint VIP.
In the video, I’ll introduce you to my godfather. He picked up a 1998 Dodge Ram for $1000. This was an awesome deal!
The first step is to assess the damage. We have a peeling on the front. A lot of people think that they could just feather it out and put clear coat on it. The proper way to do it is feather everything out, get some new base coat and lay the green on it and clear the whole front of the truck.
We’re going to pull out the whole big dent on the front and put bondo on it. It’s going to look like it was never hit before.
We also have a dent on the side, which will be easy. It’s going to just take me twenty minutes to pull it out and put some bondo on it.
We also have a dent at the back. We’re going to pull the dent out, do the body work and paint the whole thing green as I show you in the video.
I’m going to teach my godfather how to do sand this and he’s going to do all the sanding. He’s 76 years old and he doesn’t look it! He’s as strong as an ox! I wish I’m like him when I’m 76 years old.
Now, we remove all the parts that are in the way. So, let’s take the grill off. Then, we hit the high areas down, then grind clean. Also grind out any old filler, if there are any. And continue to grind damaged areas.
We’ll use the stud gun to weld pins. You have to push the gun until the outer edge hits the metal. Then, squeeze the trigger for two seconds and pull it out. Check out the video as you’ll see my godfather use the stud gun for the first time!
When using the puller, make sure to keep the pressure so the pin does not slip off. Then, use the dikes to twist and remove the pins. Then, grind panels clean again to remove welds.
We’ll tap down the high spots and put pins, which you pull from outside in. Then, you weld more pins in the low areas and tap it down some more.
Then, you’re ready to cut them off. Remember not to pull them, just twist them off. Once done, you have to grind the welds clean again before you apply filler.
Check out the video how a tree helps us with body work! While pulling it out, remember to also hit the high spot down. Then, use the stud gun to take care of the rest of the spots.
The next part is to make sure that everything is clean. We’ll sand around the metal area and lay some body filler on them.
On the next series, we have a few more dents to pull out, more body work and painting. Don’t forget to go to LearnAutoBodyAndPaint to grab your FREE 85-Page Auto Body And Paint Manual.
It will show you a more detailed body work process. This is perfect if you’re doing a custom restoration project, or put a body kit on your car.
So, check out LearnAutoBodyAndPaint if you want to learn more DIY auto body. We have all the information we need.
It’s Tony. I’m really excited and passionate about all of these stuff and I want to share this with you.
This is just a quick version because I want to share and show you what the process is like. I hope you enjoyed Part 1 of this series. Put some comments down, Like and Share the video. I’ll see you in the succeeding parts of the series.
Have a great day! Talk to you soon! Cheers!
-Tony
Other Helpful Links:
2000 BMW Z3 M – New Touch-up Project
How To Paint a Car Mazda Miata Sunroof Install Project Update
How To Repair Dents With Body Filler (Live Google Hangout)
How To Repair Car Dents – Step 1 Finding Dents Using Light
Learn Auto Body and Paint Q&A – Auto Bodywork Tips and Answers
Thanks for sharing such an informative blog it feels good to know about painting truck procedure.
You are most welcome! Glad you liked the video! 🙂 Don’t forget to grab your free 85-Page Auto Body And Paint Manual! https://learnautobodyandpaint.com/free-autobody-manual