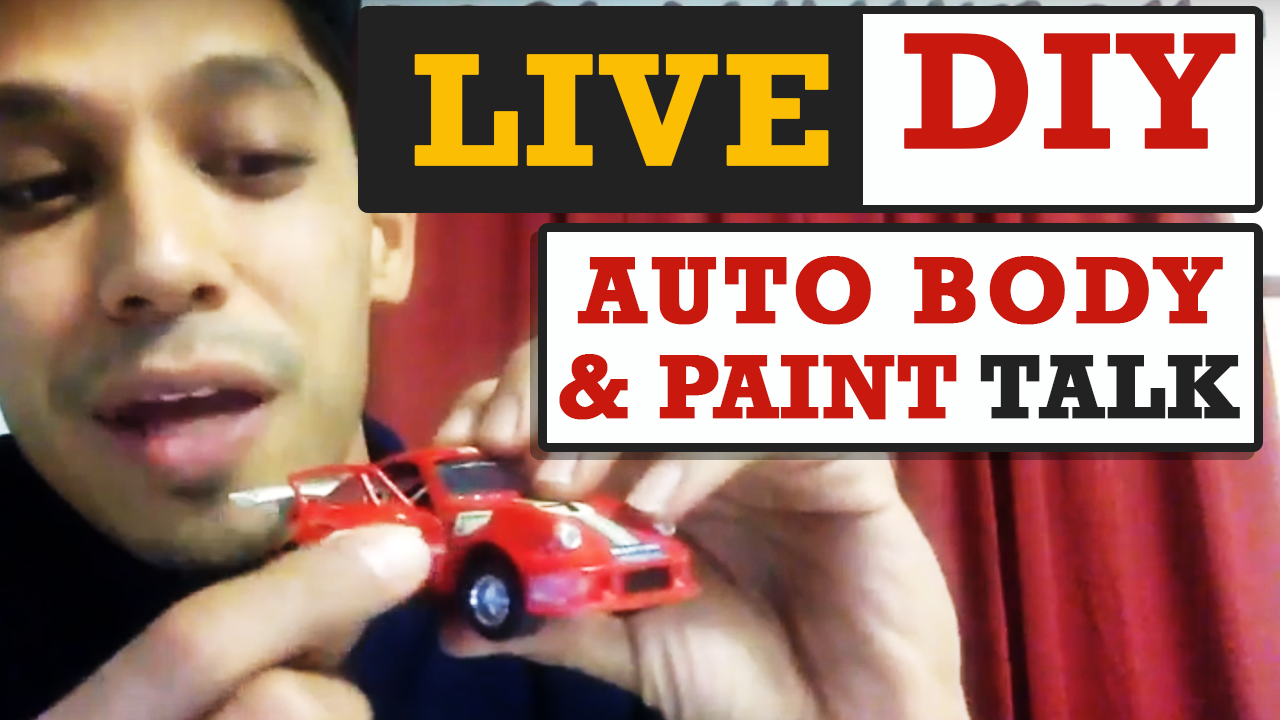
Hey, it’s Tony with another live stream. Today’s topic is Live DIY Auto Body & Paint Talk (your questions answered).
I really don’t have a topic tonight. It’s mostly about you and your story. I’m working out a brand new auto body store. It’s going to be amazing.
Introducing the new Atom X Series Spray Guns. These are professional spray guns that will give you German and Japanese style, craftsmanship and performance for a fraction of the cost. With a no o-ring design and pure spraying simplicity at it’s finest. Head on over to Zoolaa and check them out.
Question: What grit should I finish before paint and primer and what grit should I use before paint and clear? [7:52]
If you are using a thick 2K, epoxy or filler primer, you can sand with 240-grit. I like to at least the filler or body down with at least 220-grit before primer.
However, before base coat, I like to finish off with 400-grit. That’s my preference. I know all the VIPs know that. Jon Kosmoski of House of Kolor Paints also finish off with 400-grit because it’s enough tooth.
When I say tooth, it means that when you sand paints, you’ll get scratches in your paint. If you scuff with 400-grit, that’s a perfect adhesion so if you put your base and clear on it, your paint is going to stick. It’s not going to blow off in a car wash.
Some people sand it down with 1000-grit. That’s way too fine to be putting any base coat over.
Question: What can you say about fiber glass? [9:46]
You can treat fiber glass like any filler. scuff it, prime it and paint it. No need to put an adhesion promoter on fiber glass because it’s ready for primer when you sand it. You can spray a 2K primer over fiber glass.
Make sure you fill up the pin holes with glaze before or after primer because you get a lot of air bubbles with fiber glass.
Question: I’m doing my second paint job with black. I know black will be difficult. Any suggestions to have a good, clean paint job? [10:44]
The important thing is prepping. As long as you have a good prep job – do your guide coats with your body work, properly seal it and block everything out with 400-grit and if you have a nice, solid, flat body panels and base, then your paint and clear will be nice.
If you want a really nice job, spend a little bit more. Get at least a medium grade base coat and clear coat. Don’t get the cheap materials.
Question: How do you blend paint when making repairs on older cars with faded paint? [12:00]
I grew up in my dad’s body shop and he always said, “You can’t make new paint look like old paint.” You can get it as close as possible.
You can try to do a blend job and clear coat the whole panel, but why do that? You’re going to have to really think of what you’re going to do.
You can just paint the door and buff out the rest of the car to make it look like new paint. Or, you can just paint the whole car.
I don’t think I would blend new paint into an old paint job. But, you can. You can trick the eye. As long as your blend can fade into your older panels, then it’s not noticeable (except for you!).
Question: How can I match a paint color without a paint code? [16:23]
You need to drive your car down to your local paint house. They will polish an area of your car with a machine that will read the paint so they can make the paint for you. It won’t be 100% exact, but it will be very close.
Question: How much pearl do I put in my clear coat? [32:14]
That depends on what you want your end paint job to look like. If I’m mixing half a gallon of clear, I’ll put in two tablespoons of pearl to give my paint a pearl effect. That’s my preference. It’s all up to you.
We’re launching my own pearl brand pretty soon. I am excited and I think you guys are going to like it as well.
Question: Why do touch up guns come with a 0.8mm or 1.0mm? [35:06]
You don’t need that tip size to do a touch up. You can do a touch up with a 1.4mm. Those tip sizes are for smaller projects like motorcycle tanks or helmets.
It’s Tony from LearnAutoBodyAndPaint. Thank you for joining me today. I hope you learned a lot from today’s program.
For all the VIPs, I’ve just uploaded new videos within the members’ area. It’s close to an hour of video about spot repair on my BMW project. I hope you check those out.
For those of you who want to get access to all of my complete series, go check out LearnAutoBodyAndPaint VIP Course. It’s a very comprehensive course to help you with your car projects.
Please don’t forget to download the FREE 85-Page Auto Body And Paint Manual for those of you who are just starting out. You’ll get so much information to help you get started with your project.
You are my inspiration to keep cranking, guys! Appreciate all your support. I will see you on again next Thursday at 9pm Eastern. Let’s talk auto body! J Please Like, Share and Subscribe to my videos.
Talk soon! Cheers!
Tony
Other Helpful Links:
Check out LearnAutoBodyAndPaint VIP to access my complete videos on my car projects!
WARNING! What Some Body Shops Do Behind The Scenes!
Newbie Spray Gun Setup Tips and Best (PSI) Air Pressure, To Spray With
