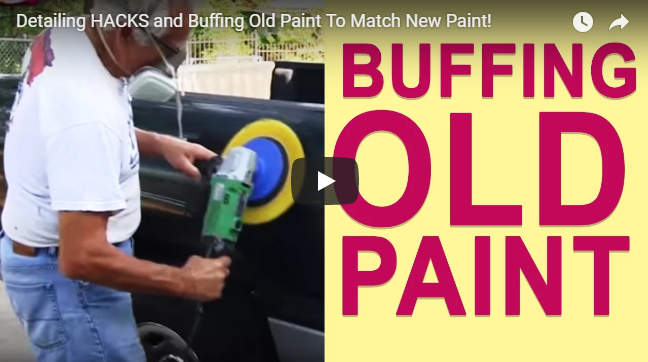
Hey, it’ Tony. Thank you for watching my video and checking out the blog today. This is another part of The Godfather Project and I’m going to show you Detailing HACKS and Buffing Old Paint To Match New Paint!
What I’m doing here is letting my godfather, Gary do some buffing. We’re using the Auto Magic compound. We’re buffing out all the body panels to get it nice and glossy.
Then, we’re going over this with the foam pad just like what I show you in my Rav4 Project within the VIP members area. It’s the same 2-step buffing process. The wool pad and then the foam pad to get the glaze on and the final finish. You can wait about a week before you wax it, especially if it’s fresh paint.
This next part of the video is just a head cam view, so you can watch the buffing process. I like to leave this at full length for you to see how the buffing is done.
We’re now going to put gold trimming, it would have looked better if I had chrome though, but I only had chrome.
This will prevent denting and scratching if you open the door and hit someone else’s door. Prostripe makes these in different colors such as Chrome, Black and Gold.
Now, we’ll put the pinstripe on. I didn’t have a gold pinstripe, so we’ll use the silver one that I got. It’s mix and match but it still looks good.
After pinstriping, use a micro-fiber cloth or some rag to go over it and push it on really well. There’s a light plastic film over the pinstriping that you have to peel off.
If the pinstriping is not stuck on well, it will just peel right off when you separate the film, so make to press firmly and push it on really good.
Then, we’ll do the design at the back. You can do whatever design you want. I just did a simple drop down arrow. After which, cut it with a razor blade then you’re all good. You can now move on to the other side of the truck.
My daughter, Mayah is now doing a little inspection (LOL!) The whole thing looks great.
I hope you enjoyed The Godfather Project. I have some “before” shots of it, see how bad the dents were on the hood, the quarter panel and other areas, the peeling on the hood and fenders and the bad dent on the hood.
Then, the picture of the finished product. The pinstriping was great and the paint job looks really good.
Thank you so much for watching this series. I hope you enjoyed it and learned a lot from it. I hope to see you inside LearnAutoBodyAndPaint VIP Course.
If you’re a newbie and want to start your own DIY auto body project, grab your FREE 85-Page Auto Body And Paint Manual to get awesome tips to help you with your project.
Please Like, Share and Subscribe to my videos. Don’t forget to join me in my weekly live stream every Thursday at 9pm Eastern.
Talk soon! Cheers!
Tony
Other Helpful Links:
89 Daihatsu HiJet Mini Truck Project and DIY Auto Body And Paint Q&A!
How To Repair and Paint Your Truck Step by Step – Part 1
How To Pinstripe Your Car With Vinyl Striping
