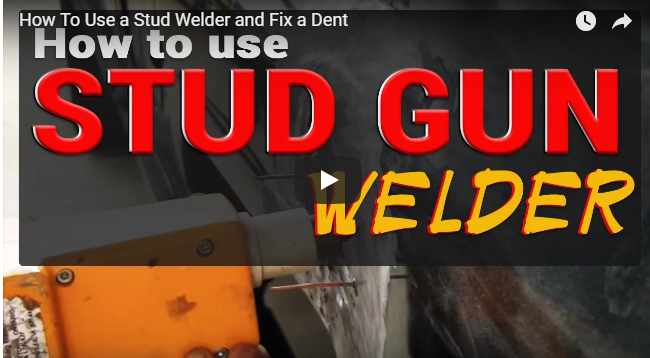
Hey, it’s Tony. Thanks for watching the video and checking out the blog. Today, we’ll talk about Quick and Easy Cheats On How To Use a Stud Gun Welder.
You have to pull back really hard on the pins to get the dent out. To get the pins off, all you have to do is push them to the side, put your dykes around the very tip of the pins, and twist it. It will come off very easily, no need to yank or pull.
Every time you make a dent, you’re going to have a high area around the outer area, so you have to knock the high areas down.
There are many ways to do body work. You could use a tree or the high beam in your shop to use for pressure in pulling out sometimes. Check out the video to see how we used the tree to help us with it.
Once that’s done, grind it up a little bit more and then we could lay our body filler on top of that.
We have to flatten using a hammer at the back of a section, because it did a little bit of a damage to the hole when we’re pulling it out so we have to bend it back together.
We grind up a little paint areas at the back. We weld up a couple more pins, pulled those areas out, hit the high spots down as well and used a screwdriver to get the ridge back in there.
Once it’s pretty much pulled out and the grill lines up nice, all we have to do is put bondo on it and shape it to fit the grill.
We applied tape, double up and single below. We also scuff around with an 80-grit so that the filler blends into the whole panel.
When you have a new can of bondo, you always want to mix it up quickly because sometimes you’re going to have a piece of glaze on there that you want to mix into the body filler.
Make sure you blow off on all of the damaged areas, all the sand, everything. You have to blow it all off, so it’s nice and clean when you lay your body filler.
We sanded out the Dodge decal with an 80-grit, feathered it down with a 220-grit to 280-grit, and then put a thick coat of Euro primer on it, which is a 2k primer. Then, sand it down with a 400-grit.
My dad taught me this when mixing body filler, “For every golf ball size of body filler that you use, put 6 to 8 drops of hardener on it.” I have been doing this for so long that I can estimate just by looking at it.
As you lay out the fillers, you have to make sure you press firmly as you work the panel. Sometimes it could take as much as four or five passes, repeating the process to get it done.
If you want to learn more about the Godfather project, check out LearnAutoBodyAndPaint VIP Course. You have exclusive access to my complete projects with in-depth information on auto body work.
I have a FREE 85-Page Auto Body And Paint Manual that you can download, so visit my website and grab that free information now.
It’s Tony from LearnAutoBodyAndPaint. Please don’t forget to Share, Like and Subscribe to my videos. Join me in weekly live stream every Thursday at 9pm Eastern on my YouTube channel.
Talk soon! Bye!
Tony
Other Helpful Links:
Step-by-Step Painting a Car In Your Garage – Unmasking Freshly Painted BMW!
How To Repair and Paint Your Truck Step by Step – Part 1
Auto Rust Repair: 3 Highly Effective And Achievable Rust Removal Solutions
WARNING: What Most Body Shops Won’t Admit To You When They Paint Your Car
