Hey! What’s goin’ on!
This is a quick video on Automotive Paint Scratch Repair made easy, something you can do at home.
I made a few other videos like this before but there’s just too many others on YouTube so sometimes they’re hard to find. That’s why I did another one, this time on a Honda Odyssey.
You can see there was a scratch on one of the doors. You could easily see that it was a surface scratch and it scuffed up our clearcoat. It wasn’t as deep as the other scratch that was by the front door handle. That one scratched pretty far down, but we did the same fix on it. There was also a little scuff on the back bumper.
So what I did was, cleaned and wiped the areas with a little bit of lacquer thinner, sanded them out lightly with 2000-grit and buffed it.
The lacquer thinner won’t do damage to your paint if you’re just putting it on very lightly or a small amount to wipe something off.
The lighter scratch on the back door didn’t even need sanding. The compound and some buffing after cleaning it did the fix. For the deeper scratches though, sanding is necessary to smooth it out.
It’s best if you wash the whole car before you get started. I didn’t show it on the video but make sure the car is clean, without any dust and dirt.
- Use any regular lacquer thinner. Just wipe it on the area.
- Sand the area with 2000-grit.
- Put some compound and buff it out.
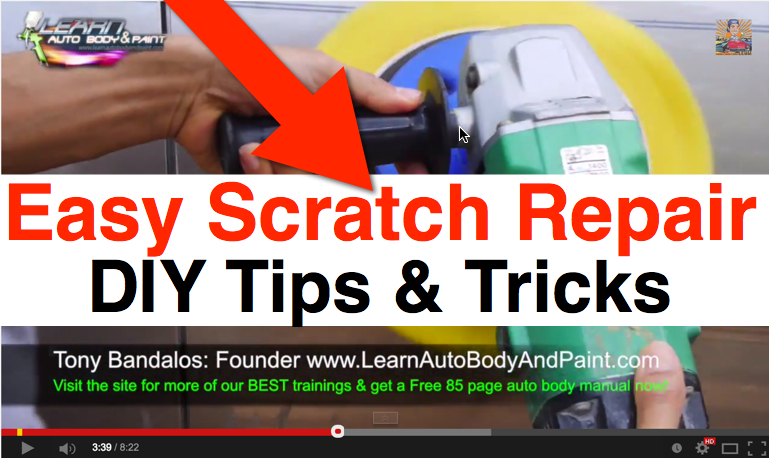
I used Auto Magic Heavy-Duty Compound. You can use a paint stirrer to put it on but you know how I like to use my hands, the best tool you can use. Just use a small amount and buff away.
As you can see in the video, it looked like brand new after doing the fix.
Little scuff marks are common in the door handle areas especially because it’s held a lot. It’s not a pretty sight to see so you can do the same to make it look better. If they’re very little marks like fingernail scratches, try to buff it out instead, see if that’ll fix it.
Because I didn’t sand the lighter scratch on the back door area, you could see a little bit of scratch remaining since I went ahead to buffing it out. If you’re very particular about it, just go ahead and block-sand the area with the same 2000-grit in a criss-cross motion. Just a little, not too much…just enough to get the gouge out off the clear coat. Then just buff it again.
But I was happy with it, it looked smooth enough. 🙂
Inside the LearnAutoBodyAndPaint VIP Course, we cover all these kinds of topics including quick, easy hacks to fix little problems like these and of course, the more technical, bigger, complicated auto body work and painting lessons. You will learn everything about detailing, customization and so much more!
Be sure to get your FREE 85-Page Auto Body And Paint Manual and your FREE 90-Minute Auto Body And Paint DVD. Just help me with the shipping cost and tell us where to send it.
What I just showed you is a real good way to spruce up a car if you’re selling it, especially for those of you guys who buy and sell cars. You can give your car a quick buff job like this with a wool pad on your buffer and improve how it looks. Probably for a van like the Honda Odyssey, you’ll have it finished within two hours. That is, if you don’t have to color-sand it anymore. Basically, just buffing a clean car to make it look shiny and new!
You can also use a clay bar on the whole car before buffing it.
Either way, just remember to wash it clean, use some good compound and then buff it out.
Believe me, prospective buyers are going to be amazed when they come take a look at your car.
You know what else you can do? You can also buff glass! I show more of this inside the VIP Course.
So what do you think of this tip? Pretty awesome, right? Have you tried it yourself? Please share your thoughts in the comments below. I would love to hear them!
Till next time!
-Tony
Other Helpful Links:
Get A Free 90 Minute Auto Body DVD Here
Auto Body And Paint Tips They Don’t Want You To Know About
How To Guide Coat and Block Sand Spot Putty To Fix Small Dent
How To Pinstripe A Motorcycle Tank
How To Paint A Motorcycle Yourself
Warick Spray Gun Review (what we use to paint at LABAP)
Last Updated on September 18, 2014 by Tony
I Have Learned A Lot With Your Auto Body And Paint Course. I’m Working On My 1994 Dodge Pickup Bed, sanding, priming Getting It Ready To Paint It. I’m Very Pleased With The Way It Is Turning Out Because Of Your DVD’s Thank You Tony!
Hey James, Thank you for the Amazing comment. Please keep in touch and keep us posted on your projects ok? Cool!