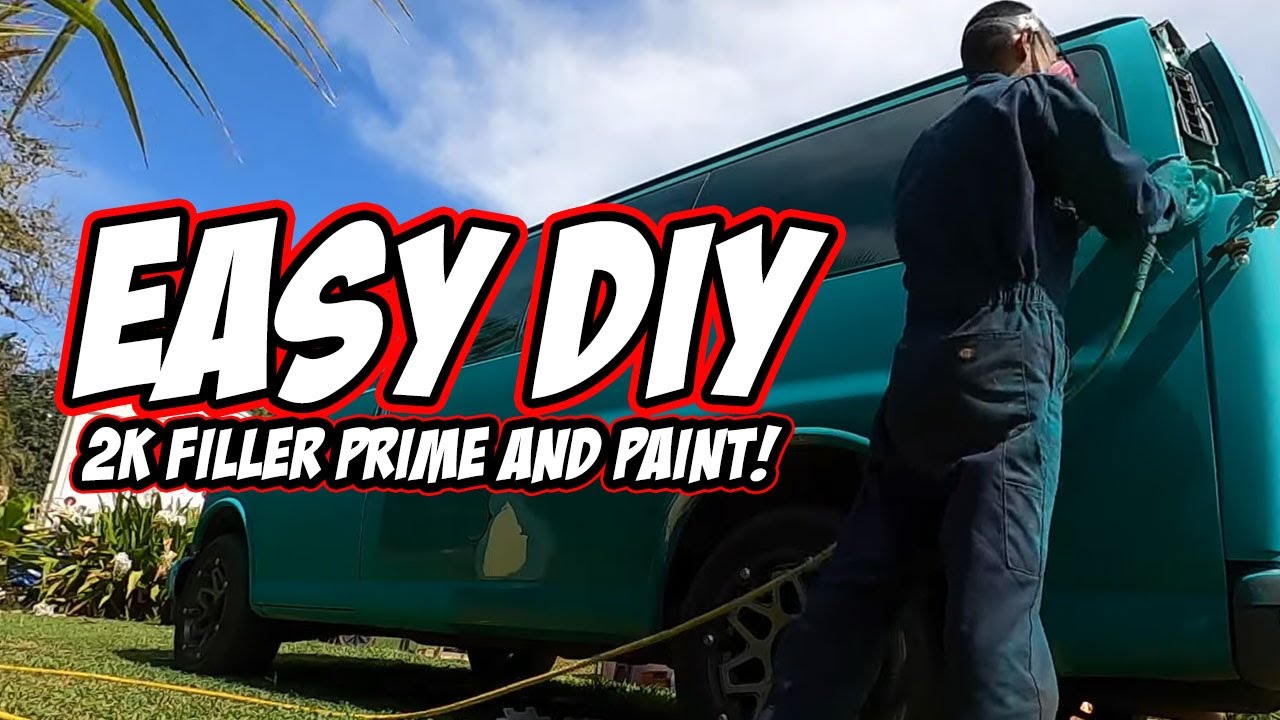
Normally on paint jobs when you’re sanding, you’re gonna see a ridge line on corners, so you make sure to sand these out and sand it flat. We want to get rid of all the orange peel and the heavy ridge lines out of the end of the panels. This is step-by-step directions on what to sand, why, and what you need to get your car ready for painting. Don’t forget to sign-up for to Learn Auto Body and Paint FREE COURSE for the step-by-step autobody work/process of “The G.O.O.D. Van Project”. Please also LIKE and SUBSCRIBE to my YT channel for new videos coming out soon.
CUT AND BUFF: If you want to cut and buff it, you can easily cut and buff this quarter panel. Once it’s all sanded then we can go ahead and prime the spots with 2K filler primer and cut that down again with 320. Again, with 320-360 grit on a single stage you could paint it over, no problem. When you start doing base coat clear coat you want to get down to at least 400. 400 is a good sand scratch to paint over when it comes to a base coat clear coat.

For the surface rust, make sure that anytime you’re priming, you’re gonna sand it down a little bit more, then prime it. You don’t want to prime over direct surface rust.
The bumpers and the plastics are going to be black. We’re just going to give that a quick scuff, throw some Bulldog adhesion promoter on it, and then just blast everything black. I like to wash my plastics down with lacquer thinner before I prime and clean them really quickly because it’s raw plastic,
Then all we have to do is put some adhesion promoter on it. And then we could spray a single stage right on top of it, or we can prime it and spray a single stage on top of it. You really don’t need to do the adhesion promoter if you’re going to prime it, but you could, it’s not gonna hurt.
So after I clean it, while I’m re-sanding everything, I’m just going to hit it lightly with the 320 grit. I might just actually put adhesion promoter on it, and then paint right over it. Because you don’t have to prime it if you’re spraying adhesion promoter. And if you want to get rid of textured plastic like this(see image below), you could get rid of it. I showed it in my other VIP videos at learnautobodyandpaint.com.
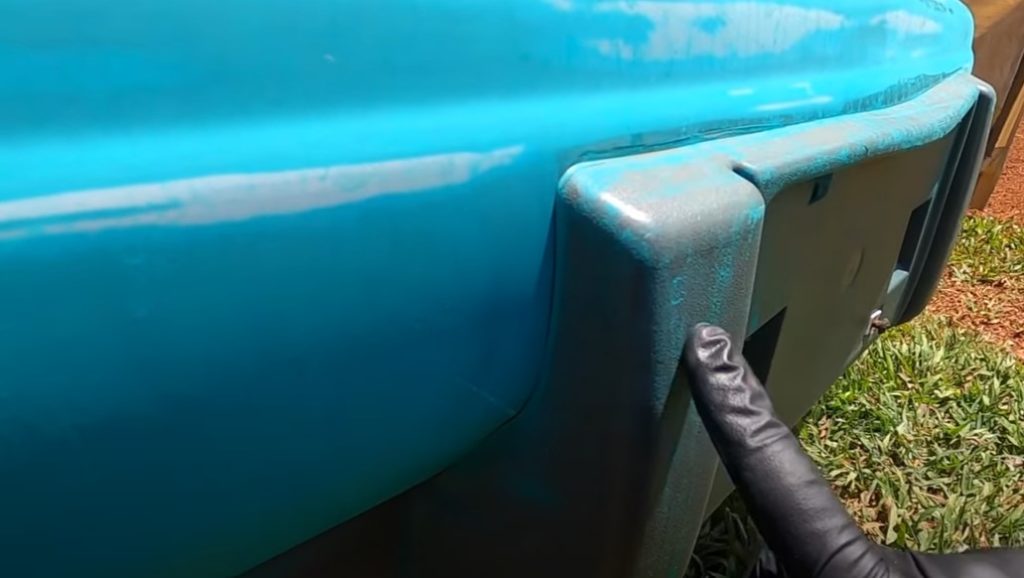
What you have to do is sand it with your 320 grit just to get it ready for 2k filler primer. You don’t have to sand this out, it’s going to be it’s kind of tough to sand out plastic texture like this. You’re going to really get clumps in your plastic and it’s going to be really bad looking.
What you want to do is clean it with lacquer thinner, and lightly scuff anywhere from 280 to 360 grit. Just lightly scuff it then 2k filler primer it really well, fill up, and then wet sand it or you can even dry sand it. But then you just basically wet sand it out until there’s no texture and then about like glass, like a regular panel here.
After sanding the areas with D.A. orbital sander we’re going around and hit any shiny areas that I see. Scuff it because we want to make sure we pretty much get everything so we don’t have any paint chipping or bad adhesion points.
So your goal is to get all the shiny as much as you can and that will give you good paint adhesion. It will also reduce flaking in the future because that’s where it starts. If you do a poorly bad job and sanding, these are the areas where it’s going to start flaking in the future. (see image below)
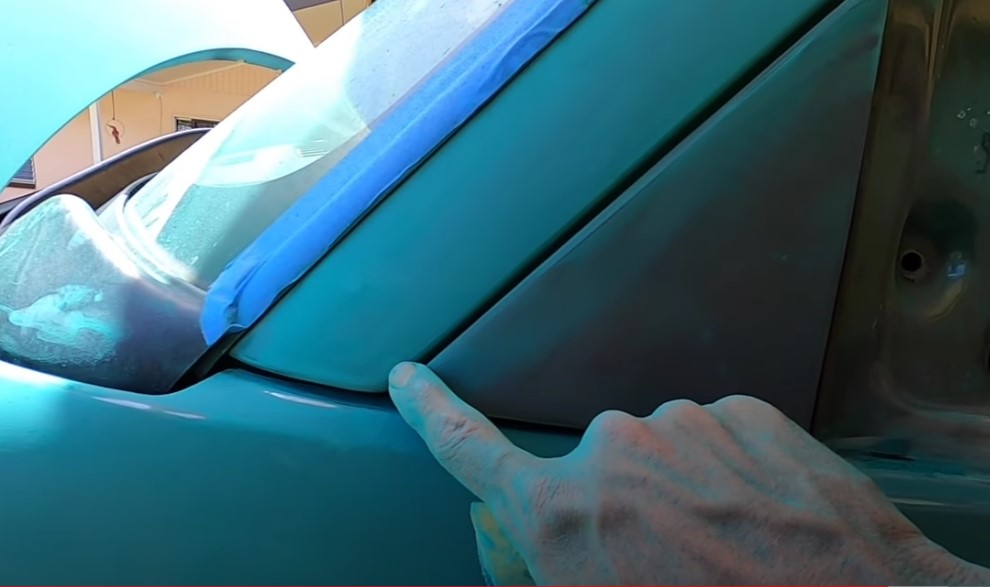
See here I can fit in with the DA (see image below) and then basically just get that with my hands all the way around and get all Bondo body filler areas ready for primer. Kind of cut everything with primer, maybe some of the metal/plastic spots, and hit it with primer. This will be ready for paint soon.
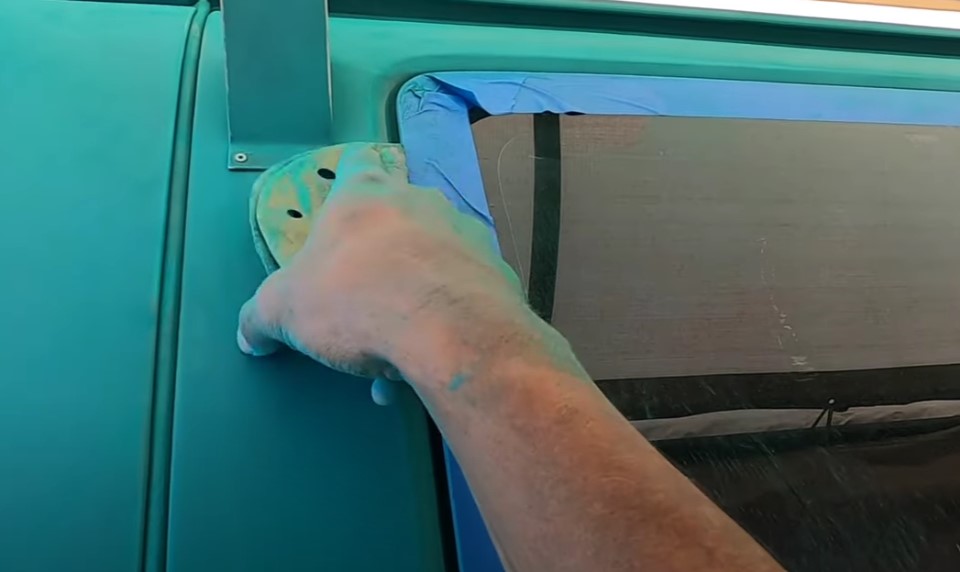
Watch the full video for the step-by-step autobody work
Discover More Auto Body Secrets Get FREE Training! at www.learnautobodyandpaint.com
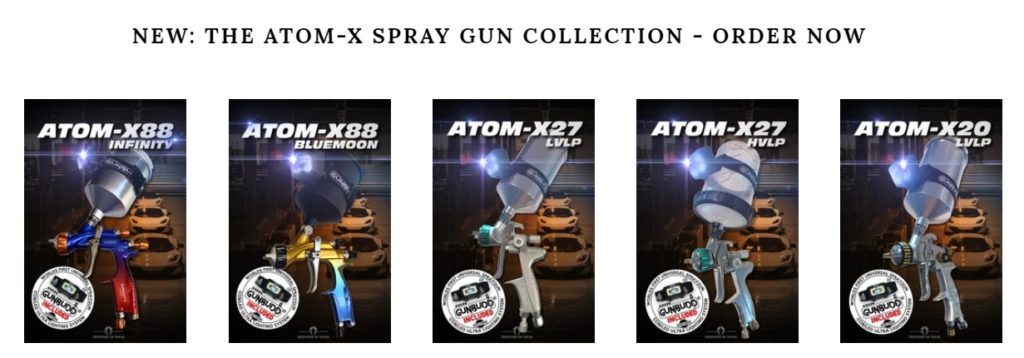
ATOM-X Quality. Performance. Results. 🎉
 *Get FREE Shipping on ALL Orders Over $249.(U.S.A.only) and FREE GUNBUDD LIGHT 🚀
More Helpful Auto Body Videos Here⬇️⬇️⬇️
The Basics: Auto Body And Paint Your Car Yourself Without Spending $1,000s
Live Autobody Work On The Good Van Project “DIY” and Auto Body Q&A
How To Apply Automotive Primer Paint: 1k Primer/Sealer, 2k Urethane, Rustoleum Primer || Q&A
Custom CANDY Burple_Teal FADE Paint Job on OneWheel Fender A-Z Auto Body Process!
$25 Spray Gun VS Mid Grade $150 Spray Gun – Spraying 2k Filler Primer + Golden Paint Tips!
▶️Get a Special FREE TRIAL offer to Learn Auto Body And Paint VIP: https://www.learnautobodyandpaint.com/
Other Auto body Courses:
▶️How To Flip Cars For Profit: https://howtobuyandsellyourcars.com/
▶️Rust-oleum Paint Job Gold Course: https://vip.learnautobodyandpaint.com/order-formbbdpuz29
Looking For Automotive Painting Tools? ⬇️⬇️⬇️ With Great Deals and Discounts
▶️Spray Paint Gun (ATOM X Series): https://www.zoolaa.com/
▶️Spray Gun Light (GUNBUDD): https://www.zoolaa.com/products/gunbudd-spray-gun-cob-lighting-system
Social Media Links:
🔗Connect on Facebook for More FREE Updates: https://business.facebook.com/paradicegarage/
🔗Follow me on Twitter for more Project updates: https://twitter.com/thetonyrichie
🔗Instagram: https://www.instagram.com/tonybrichie/
Special Training Videos and Guides On How To Build Your Wealth With Cryptocurrency:
Crypto For Beginners – How To Get Started: https://cryptowaters.com ➡️Subscribe To Crypto Youtube Channel: https://www.youtube.com/c/TheTonyRichie
