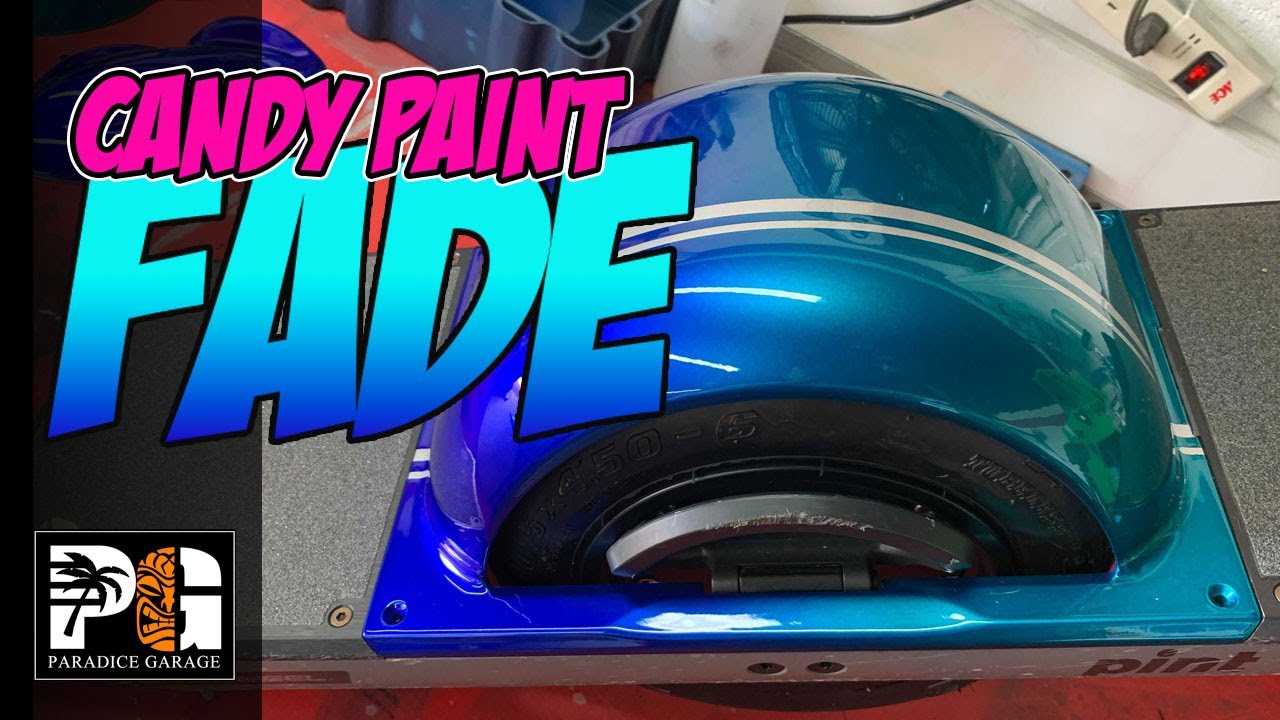
Have you seen the OneWheel skateboard? It’s a personal transporter that looks like a futuristic unicycle. Well, I decided to give it a custom candy paint job. The results are pretty amazing! In this blog post, we’ll take you through the entire process of painting a OneWheel fender from start to finish, so keep reading. Get Free Auto Body Training Guides and Videos here and don’t forget to LIKE and SUBSCRIBE to my YT channel. Stay tuned for new videos coming out.
🟢🟢🟢Lets get started🟢🟢🟢
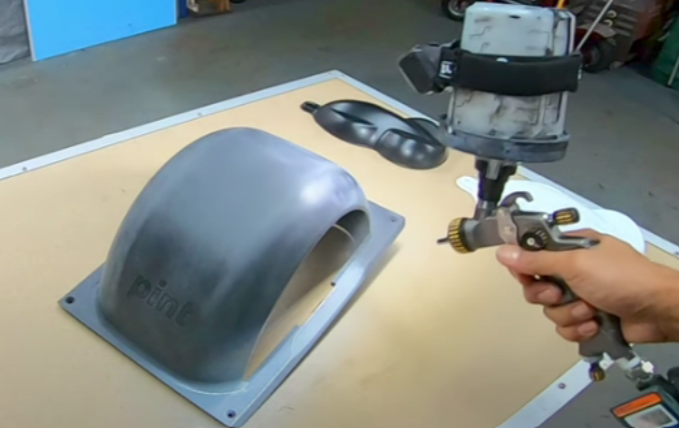
Step 1: Prepping the panel for painting (dry sanding with 400 grit) 0:13
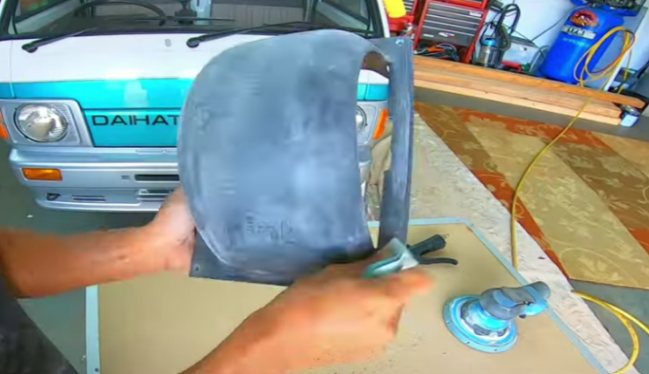
Step 2: Wash it with water and let it dry. 1:01
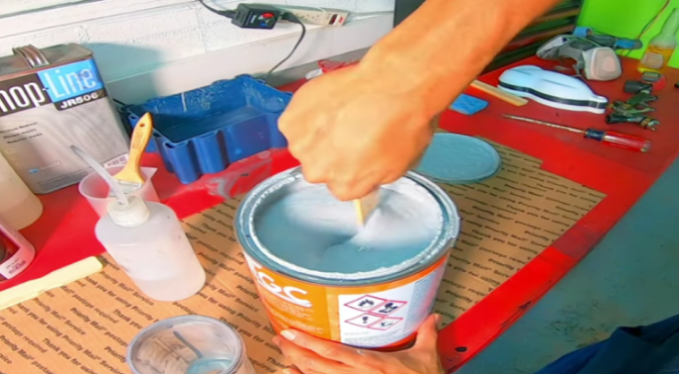
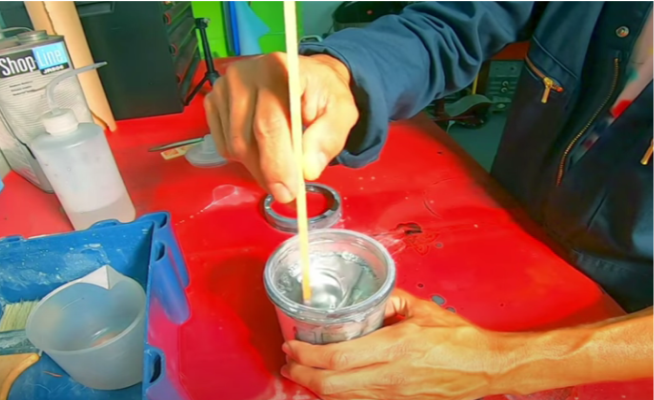
Step 3: Mixing Primer for Painting. 1:06
(Note: You can spray thicker 2k filler primers like we just did as long as you reduce it a little bit, you could use any type of reducer – I’m using the medium basecoat reducer from ShopLine)
Step 4: Spraying three (3) coats of 2k Filler Primer (EGC21TT 2k Filler Primer) with 1.2 tip size Using Atom X16 Spray Gun. 1:15


Step 5: Make sure to clean your gun after use with lacquer thinner. 1:57
Remember: Make sure to clean your guns right after you use them especially when you’re spraying a 2k filler primer.

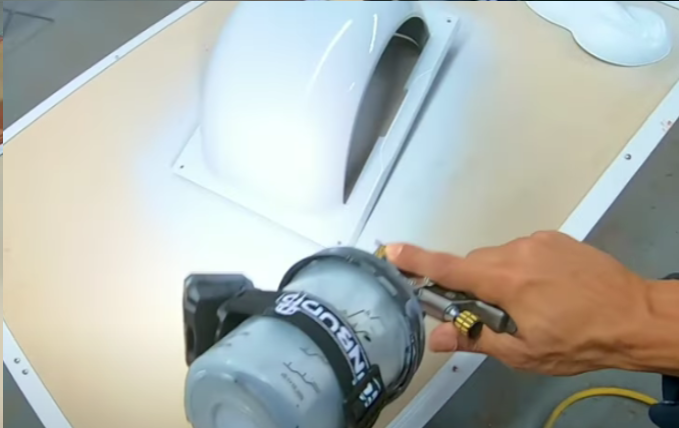
Step 6: Wet sand the panel with 400-500 grit to make it smoother before painting. 4:18
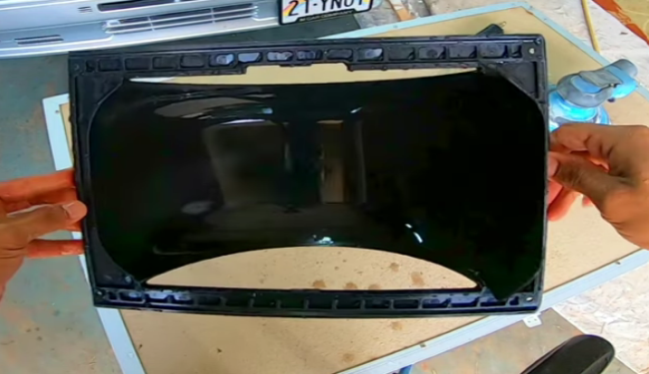
Step 7: Mix the silver basecoat then spray it to the panel. 7:19
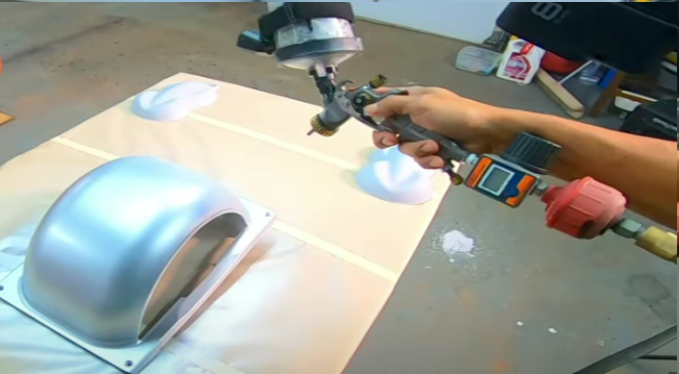
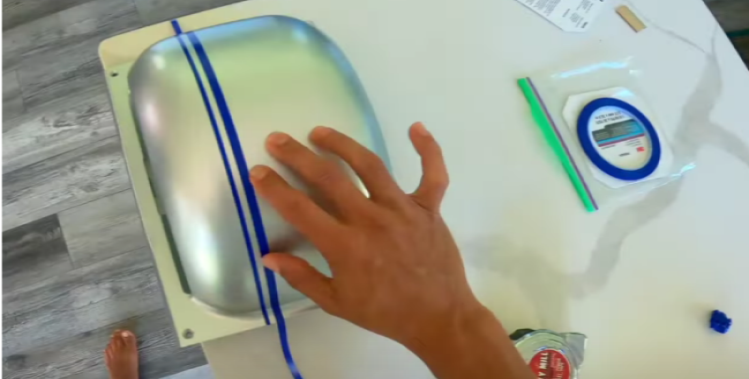
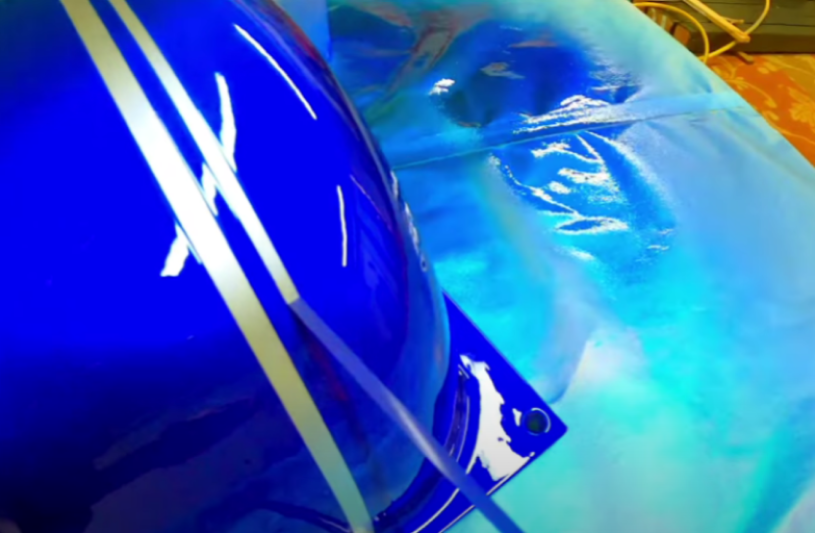
Step 8: Applying Pinstripe Decals. 8:00

Step 9: Mixing and spraying burple and teal faded paint. 8:28
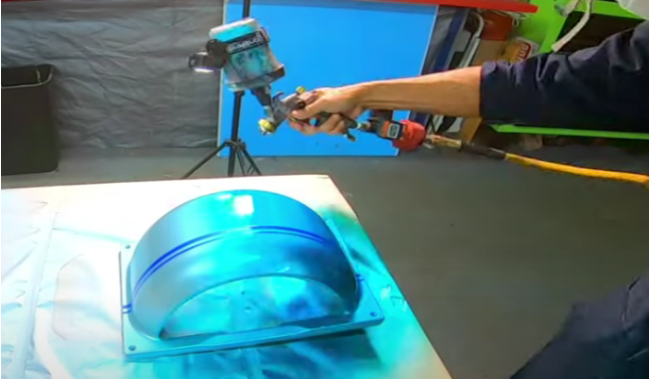

Since this is a clear coat essentially, we mixed our basic urethane kandy and it worked out very well. I really didn’t have any doubts, but we didn’t even use a kandy concentrate. The last time we did it we mixed candy concentrate and the clear coat came out great, this time we mixed the urethane candy. This is really not a concentrate, but it looks like it really does look like a concentrate.
So we mix this in the clear coat, we did our fade. Now I’m going to take off this pinstripe and then we’re going to put two coats of regular clear on it and this paint has been sitting for about 30 minutes now
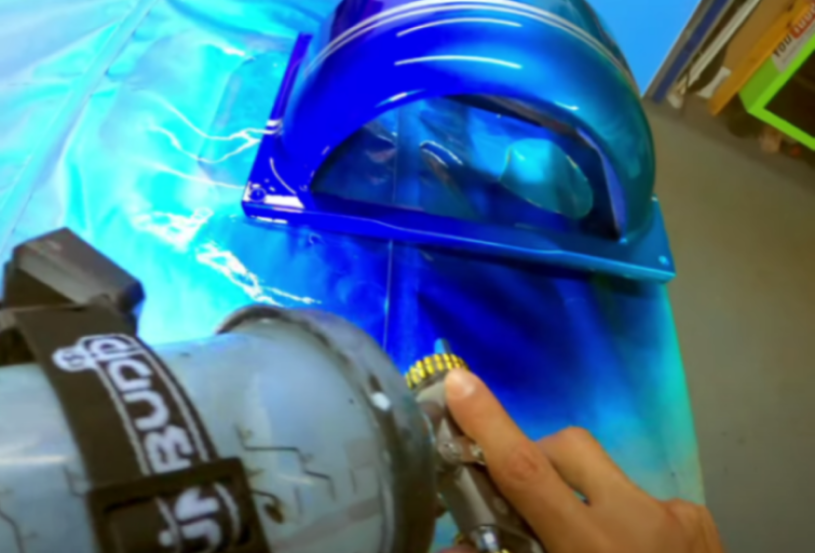
You want to make sure if you’re taking off decals like this that you bypass the sticky stage, the clear coat has to be set up a little bit more than the sticky stage. But you don’t want it to be set up and completely dry, so we just have to wait a little bit more, and then we can go ahead and peel this off.
Step 10: Make sure to set up clearcoat a little bit more but not completely dry before removing decals. 12:09
Step 11: For final touch: Spray two (2) coats of clear. 13:08
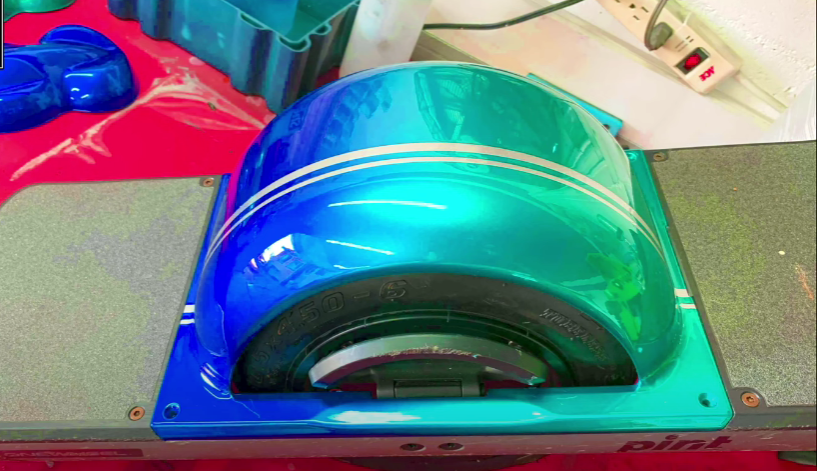
So here’s the finished product, we got our purple, we have our silver stripe and then our fade over to teal. I just let it dry overnight before putting it on. Hope you like the finished product.😎🤘
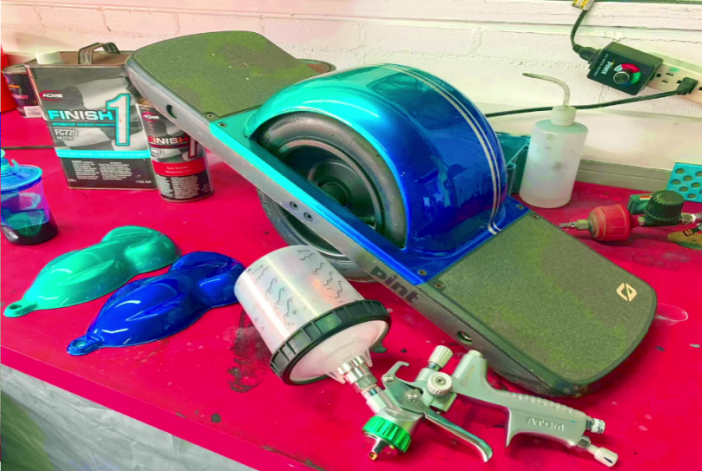

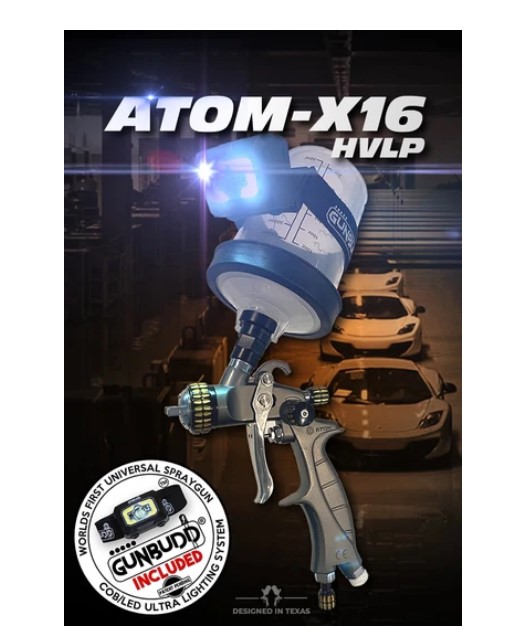
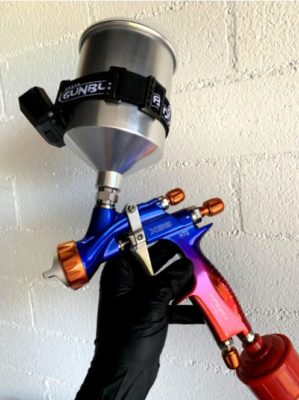
Spray Paint Gun Used (ATOM-X16 Spray Gun): https://www.zoolaa.com/products/atom-mini-x16-professional-spray-gun
Spray Gun Light (GunBudd® Universal Spray Gun COB/LED Ultra Lighting System): https://www.zoolaa.com/products/gunbudd-spray-gun-cob-lighting-system
✔EGC21TT 2k Filler Primer
✔Basecoat and Reducer from SHOPLINE
✔House of Kolor Urethane Kandy

Get High-performance Automotive Refinishing Spray Guns:
https://www.zoolaa.com/collections/atom-series-spray-guns-pre-order
For more helpful links:
Explaining Painting Candy Over Silver: Auto Body Q&A
How To Get Best Results When Doing Candy Paint: Auto Body Q&A
How To Correctly Spray Candy Paint: Auto Body Q&A
Get FREE Auto Body & Paint videos and guide here: https://vip.learnautobodyandpaint.com/free-training
Get complete auto body and paint DOMINATION and training here: https://vip.learnautobodyandpaint.com/exclusivevip
Last Updated on December 8, 2022 by Tony