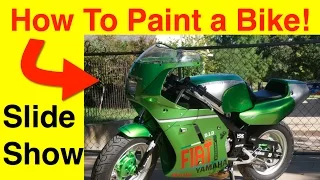
Hey! What is going on!
I made this picture presentation, video, slideshow (whatever you want to call it) because I just have so many pictures sitting around and I thought I can sort of go through the step-by-step process with you. You’ll get full, complete footage inside the VIP Course.
The project is a 1988 YSR50 that I picked up off at eBay Auction. I got a pretty good deal on it. This was actually one of the first projects that I worked on when I was a little kid, I was about 13 years old.
So anyway, I got it and disassembled it. You can see the plastics like the fender had some cracks on it and we’ve repaired everything with epoxy. We did a complete frame-off restoration which is exactly what I want to show you…every step of the process in step-by-step videos.
I’ll show you how it’s done from how to take the paint down to doing epoxy work where I put the pieces back together using epoxy. I also show some bondo work. We filled up the little dent on the tank there as you can see. Then we did some heavy 2k primer, filled up all the sand scratches. We did this to all the parts. And don’t worry because I cover everything inside the VIP Course.
Check out the video because I include a clip when I was wet sanding the tank.
You will see how I lay the base coat on. I used a silver base coat underneath because it makes our green paint pop. I also added a little graphic. I got some fine-lined tape and pinstriped the area where I wanted to leave the silver color, then put masking tape on it. That’s when we added the green paint over it, we did three (3) coats.
I painted the frame satin black.
A little bug landed on the tank while it was still a little wet so I also show you step-by-step how to sand it out just in case something similar happens to you.
So we got the clear coat on, we have the cool www.LearnAutoBodyAndPaint.com decal on. Then we started to put all the rest of the other decals and put everything all together. The finished product came out really, really cool.
But there’s only so much I can show you here. I just wanted to make this quick video so you can kind of see the step-by-step process.
Check out our VIP Course right now. When you join VIP, I promise you’re going to get so much more. You’re going to have more of this on step-by-step videos.
Don’t forget to get your FREE 85-page Auto Body And Paint Manual and grab a copy of our FREE 90-minute Auto Body And Paint DVD. I’ve put a lot of jam-packed information in there that I think you’re going to like.
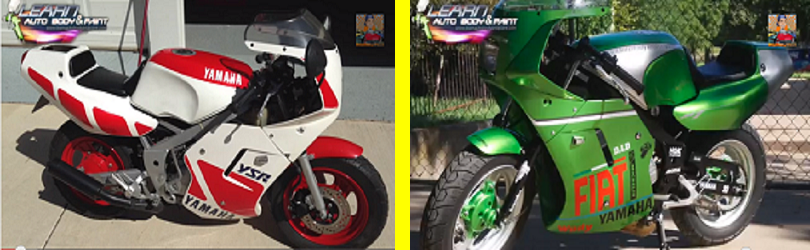
Here are the BEFORE and AFTER pictures…
So if you want to learn more on how to paint a motorcycle step by step, cars, classics…whatever you want to do with professional automotive finishes, I’m going to show you exactly what to do and what not to do so you don’t go through the pitfalls and trials-and-errors like other people do.
So let me hear your thoughts. Leave your comments below. How do you like the finished project? I’d love to hear from you!
Thanks for watching.
I’ll see you soon!
-Tony
Other Helpful Links:
Get A Free 90 Minute Auto Body DVD Here
How To Guide Coat and Block Sand Spot Putty To Fix Small Dent
How To Pinstripe A Motorcycle Tank
How To Paint A Motorcycle Yourself
Warick Spray Gun Review (what we use to paint at LABAP)