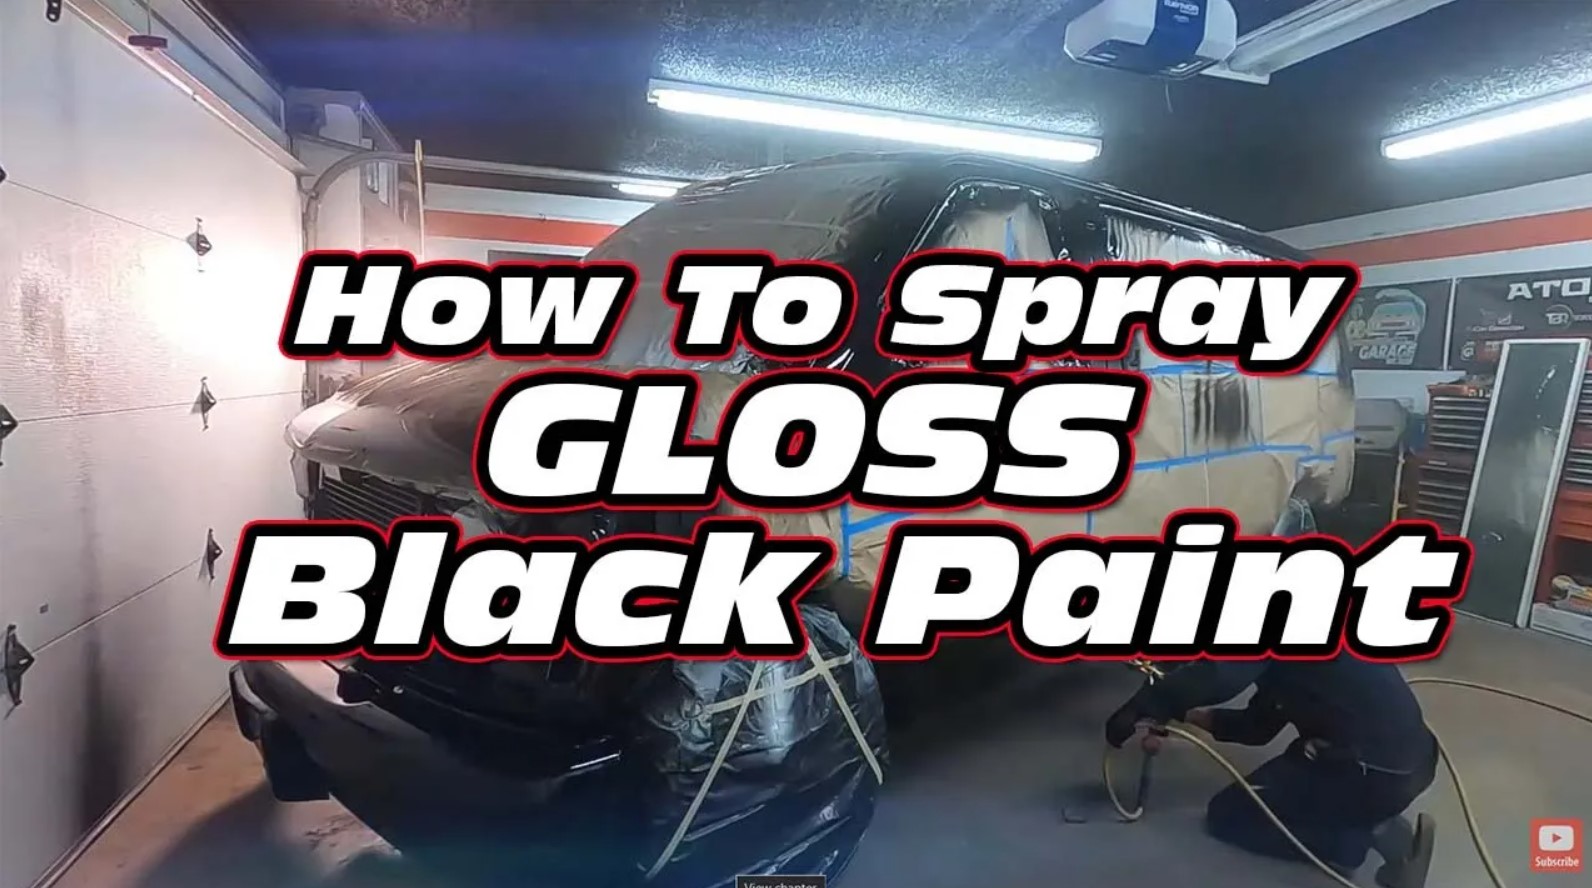
In this post, you’ll know how to basically prep up for single stage two-tone painting. So if you want to see more on this project, check out my YouTube Channel – LIKE and SUBSCRIBE. Also, don’t forget to sign up for to Learn Auto Body and Paint FREE COURSE for the step-by-step auto bodywork/process of “The G.O.O.D. Van Project” and more custom auto bodywork and paint.
If you’re knocking out a brand-new paint job, you don’t want to just leave the car the way it is. You want to make everything that you put back on nice again to tighten it up after the new paint job.
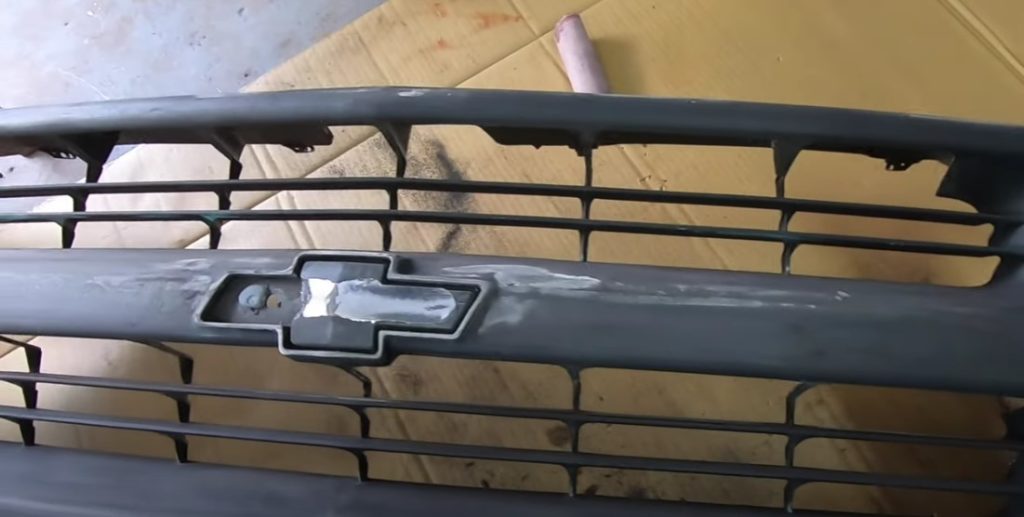
➡️ Prepping front grill for raptor liner spray
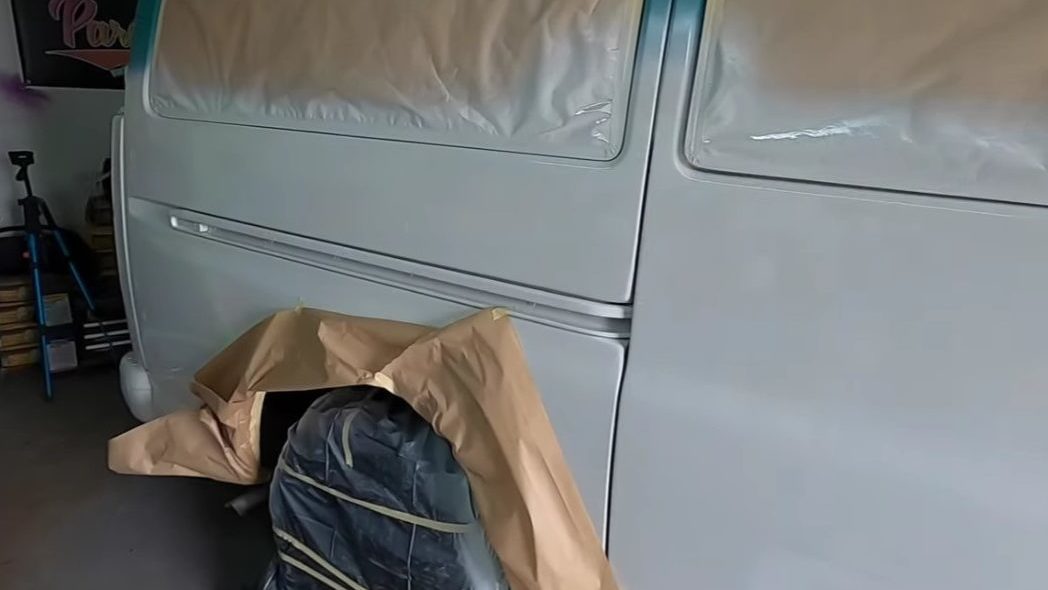
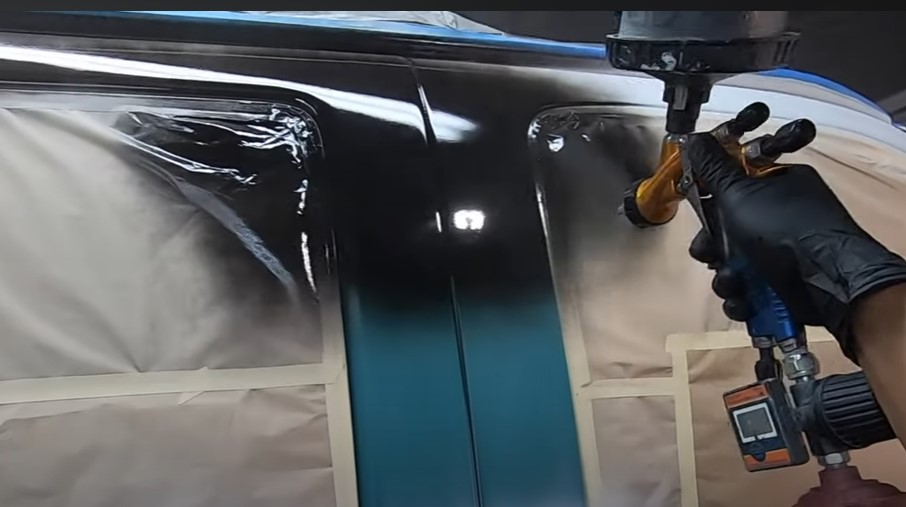
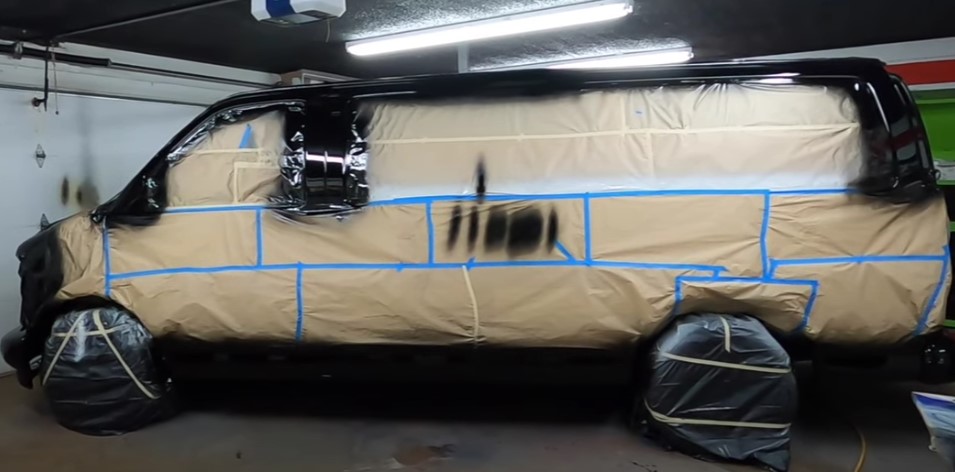
So we’re just gonna go with the gloss black front bumper, and rugged grill, and then the two-tone is going to be gloss black on the bottom as well. So where you see the seam is going to be two-tone gloss black to match the bumpers. Then the top of the drip rail is going to be white but under it, all this is going to be black.
Check out learnautobodyandpaint.com and grab that free training on the auto body so you could bang out jobs like this from your own home garage on a budget and have the paint jobs come out really nice. We’ve been helping 10s of 1000s of people across the world since 2010. Learn and apply auto body and paint from their own home garage. We’ve helped so many people open up their own body shops.
➡️ Striping two-tone design then scuff dry with 400 grit (scuffing tips)
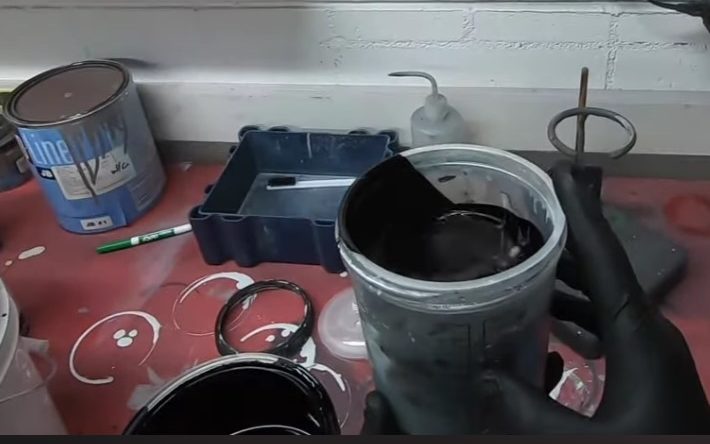
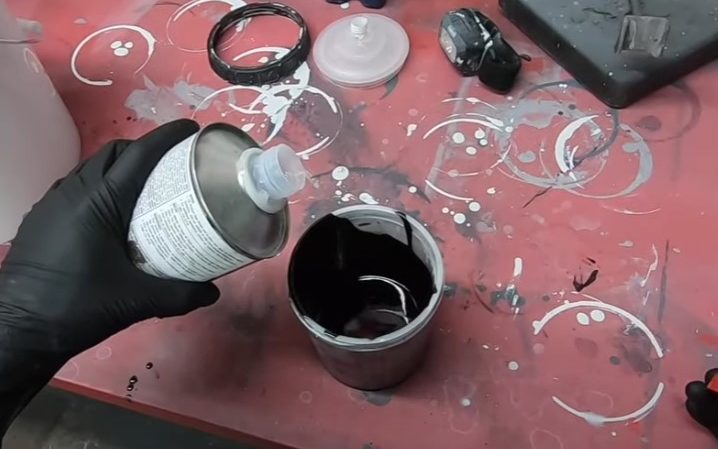
➡️ Mixing black single stage paint by ShopLine (8:1 mixing ratio with reducer)
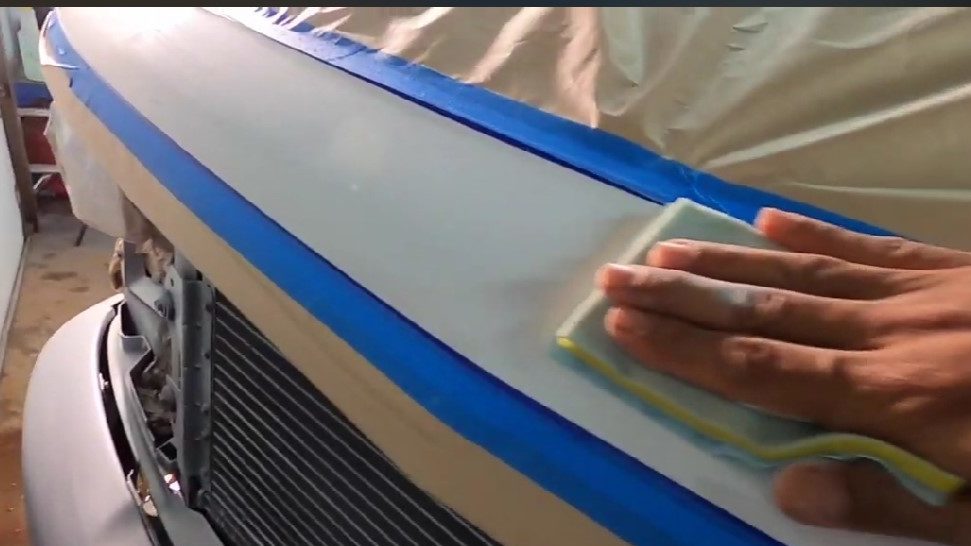
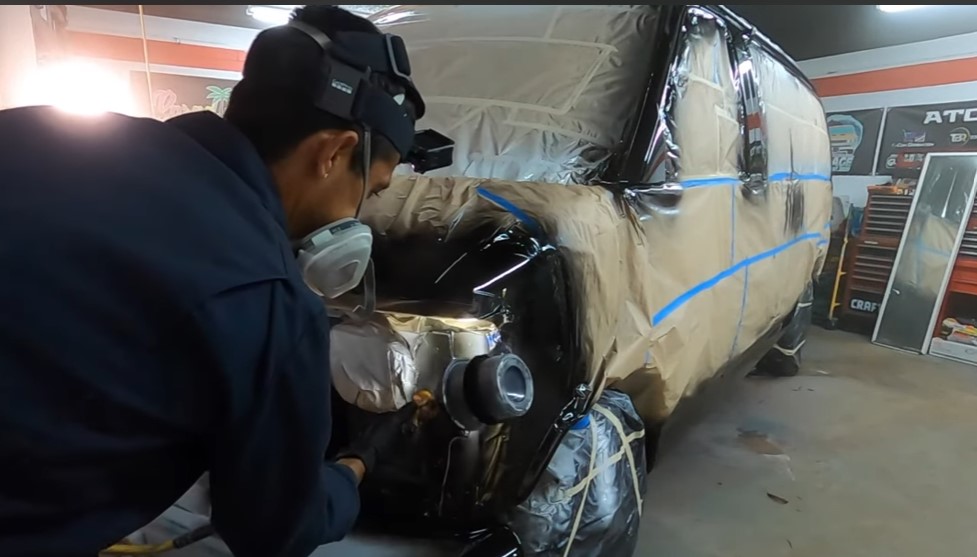
❗Make sure to do tacking before spraying paint
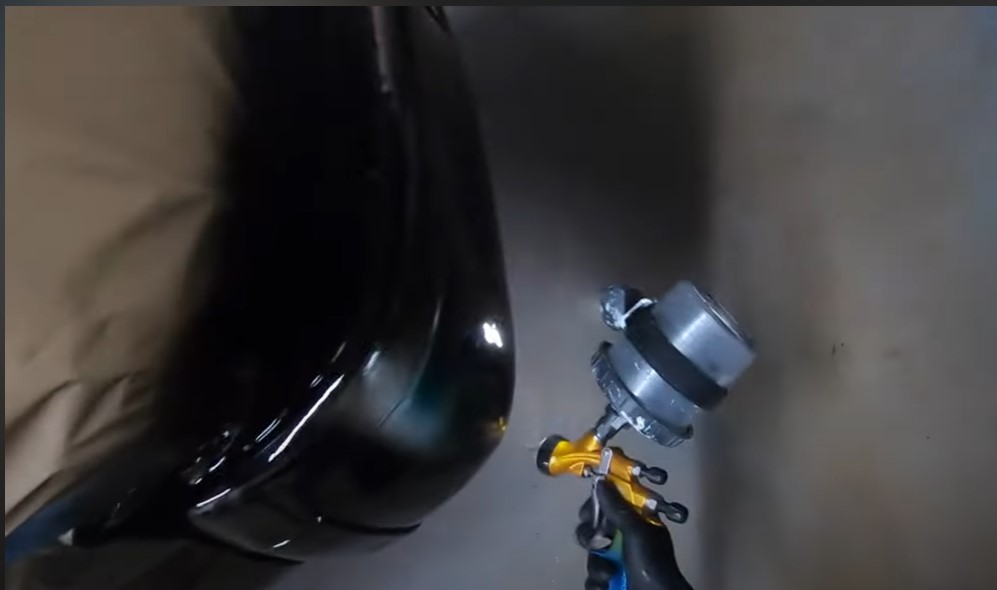
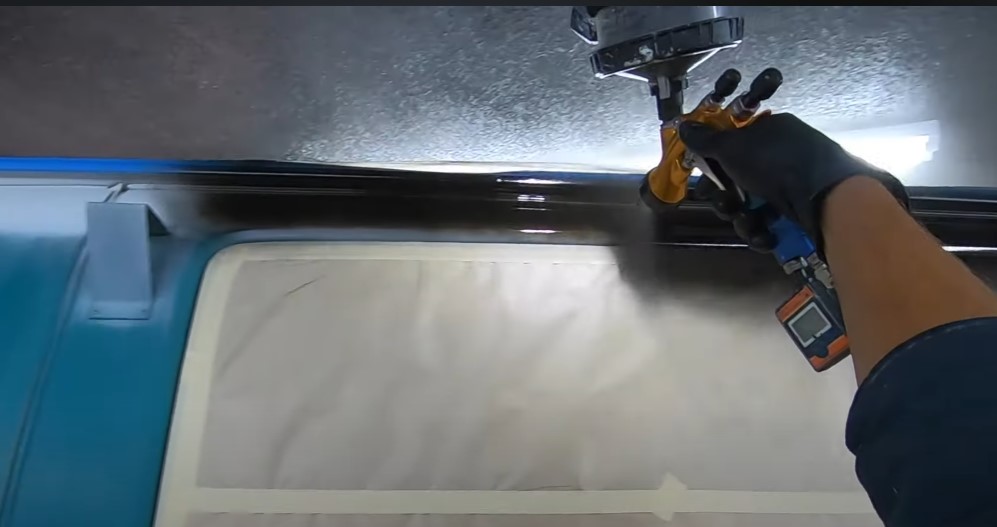
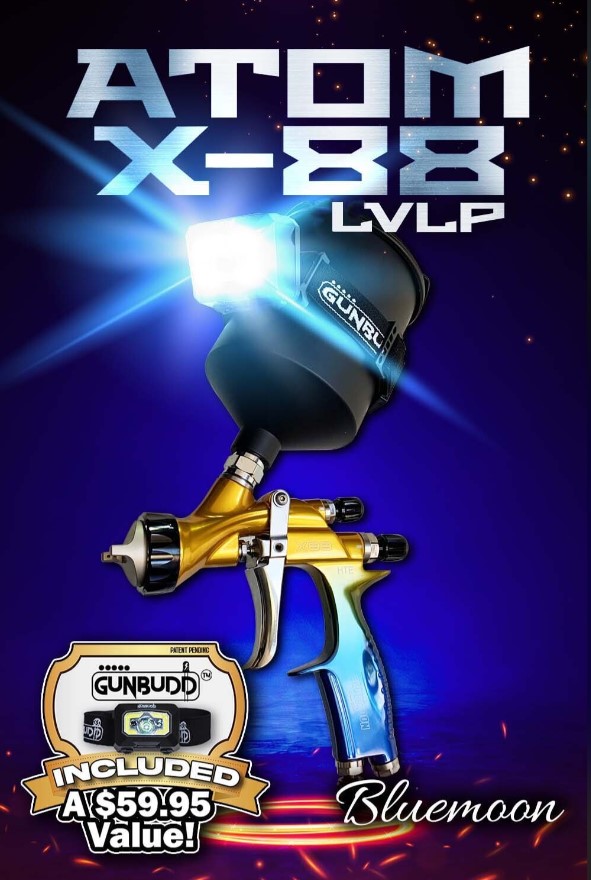
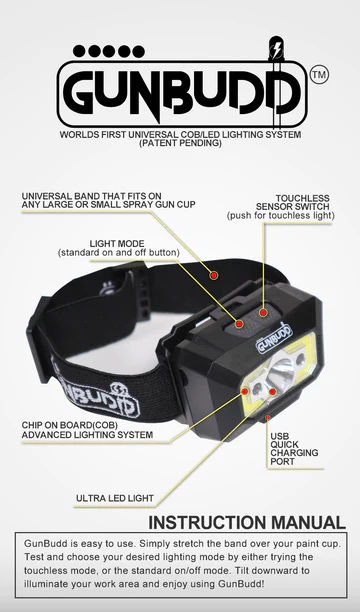
➡️ Spraying paint using Atom X88 Spray Gun with the Gunbudd


Top Quality Spray Guns & Refinishing Products GUARANTEED! Check out www.zoolaa.com
Watch the full spraying video here: https://youtu.be/aBZfhn621DM
➡️ Tips on how to properly unmask your car after painting
So after spraying gloss black paint, what I’m going to do now is basically unmask our two-tone area. We’re going to start unmasking the whole van up because you don’t want to let this set too much. For instance, wait overnight till tomorrow -you want to do it within 2-3 hours. This way, you can get the masking off the fine-line tape off without peeling the black paint.
And when you’re in the middle of working on a project it doesn’t look good. But as you start to put it together, clean up the rims, do the details, put the mirrors back on clean the window, then it starts to put the lights in, it starts to look really good.
We got two-tone all the way around, did our gloss black bumpers, and I think it’s going to look really hot once it’s unmasked. Let’s start masking it off slowly.
And we just want to be careful because I also don’t want to peel off the white. So it’s going to be a little time-consuming to do this, but I think it’s going to be worth the patience. When you peel you don’t want to be peeling upward, you want to pay peel away from the wet paint.
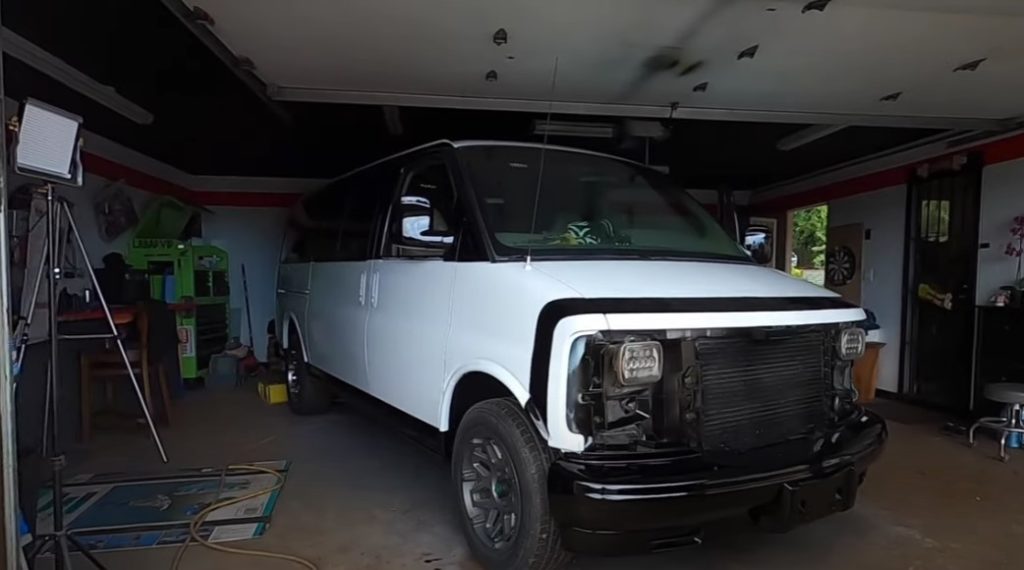
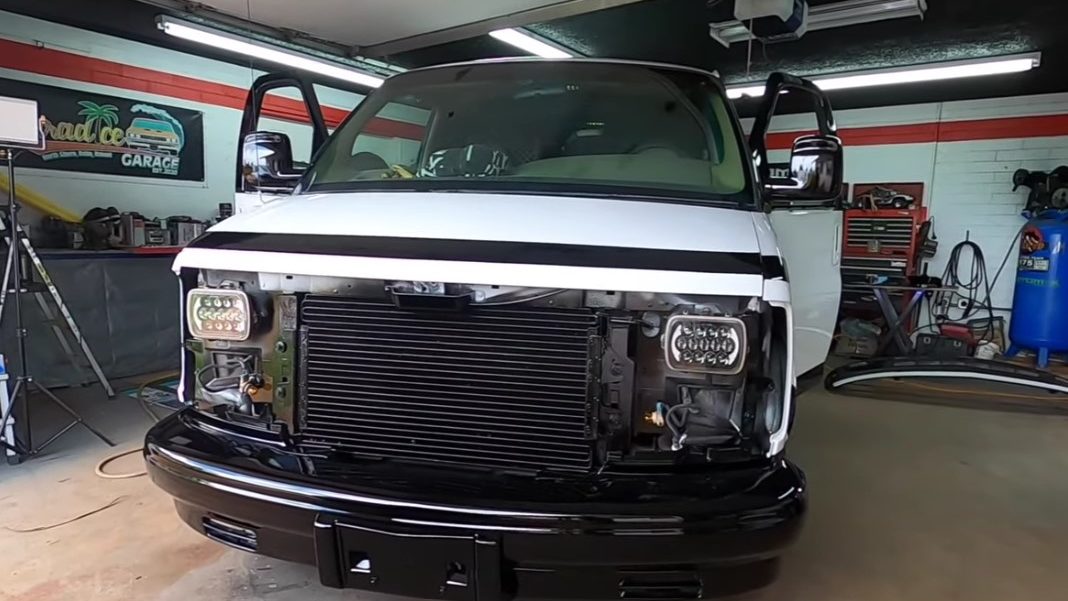
After unmasking, let’s put our rims back together. We painted these center caps and the ring and we’re going to be putting all that back on. Going to detail the truck up, put our grill back on and that’s pretty much it.
Then, the only thing I had to do was color sand and buff out my headlights which we’re going to be doing later on. And we teach all these strategies at learnautobodyandpaint VIP as well.
Again, if you check out learnautobodyandpaint VIP, we have so many projects that we go over step by step A-Z detail, custom body kits, candy paints, pearls flakes, and so much more. If you enjoyed this you’re going to enjoy VIP so much more, so definitely check that out.
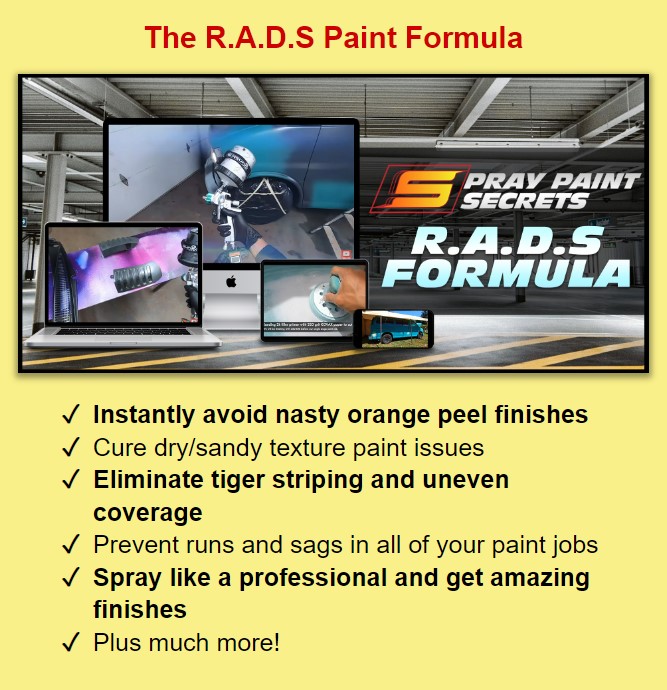
The R.A.D.S. Paint Formula Video Training: https://vip.learnautobodyandpaint.com/spray-paint-secrets
Last Updated on February 25, 2023 by Tony