Did you enjoy the video? Check out the LABAP VIP course that will help turn you into an auto body and paint pro, from home!
Hi, it’s Tony from LearnAutoBodyAndPaint. Today’s topic is DIY Car Painting Basics – What To Do BEFORE YOU PAINT Your Car.
This project is a 1989 Daihatsu Mini Jet, 3-cylinder motorcycle engine which needs body work. It is fully functional and drivable vehicle which is used even today in Japan.
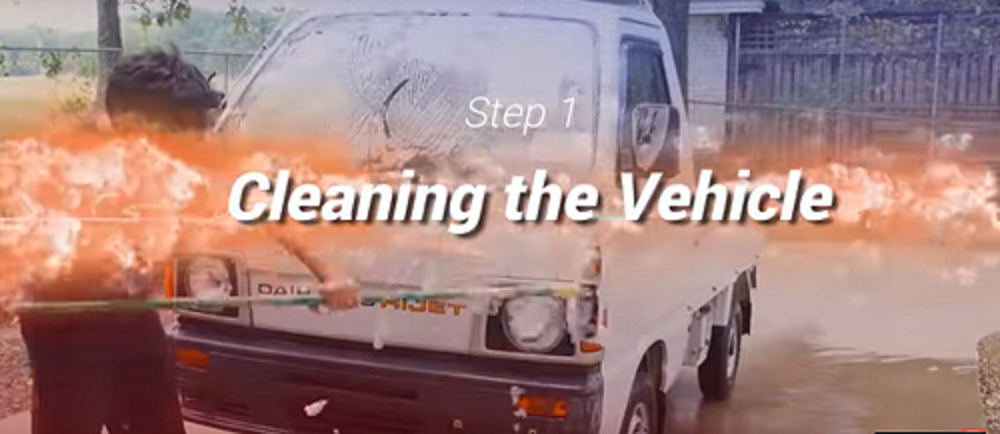
Before working on a project, you must assess what needs to be done. Make sure that you wash the car with a good degreaser or washer.
If you take a look at this truck we have scuffs and dents and a little bit of body work. Check out the video as I show you all these as well as the work that we will be doing with this truck. I also show you the tools that we’re using for this project.
Let me show you a cool thing about this truck. Check out the yellow lines and in between these, we’re going to put a nice aqua teal blue on it. This will be a two-toned truck, which is white and teal. It will definitely look awesome!
We will have the whole front section with teal paint. We will probably redo the lights silver. The front bumper cover will probably be white as the entire truck. It will be pearl white. J
We will also throw in some X Finishes Moon Dust Pearl in the paint. Check out these awesome organic pearls and flakes on Zoolaa. It is similar to the House of Kolor brand, but more affordable. This paint job will definitely pop out and will look fantastic!
Here are great tips from this short video!
- Make sure that vehicle is clean before doing any body work.
- You can use a razor to take off auction markings.
- When working on a project, you must assess the whole vehicle.
- Figure out which part you are going to remove while painting.
- If you don’t see any screws, try pushing it sidewards to loosen it up.
- Electric screwdrivers can really save you a lot of time.
- Having a complete set of tools can make a lot of difference.
- Be careful in pulling out car parts.
- Check out how a certain part locks after removing it. This way, you will have an idea on how to place it back on.
- If you are planning to remove your lights before painting, please remember that you need to re-adjust them after painting.
- Most of these screws are 10mm.
- Clean rusted screws by using a wire brush. You can also paint them afterwards to make them look cool.
It’s Tony from LearnAutoBodyAndPaint. I hope you enjoyed a sneak peak on this project. If you want to get cranking on your own custom projects, grab your FREE 85-Page Auto Body And Paint Manual. Get started with your own auto body work and car painting.
To get a comprehensive training on auto body work and paint. And, get access to the complete video series of this 1989 Daihatsu Mini Jet, check out the LearnAutoBodyAndPaint VIP Program and sign up!
It’s Tony from LearnAutoBodyAndPaint. Thanks for watching the video. Please Like, Share and Subscribe to my videos!
Talk soon! Cheers!
Tony
Other Helpful Links:
The Basics of Painting A Car From Home!
How To Auto Body and Paint Cars, Bikes and Toys Yourself
DIY Auto Body And Paint Questions and Answers Replay!
How To Paint A Car – Important Advice!
Dry Primer Causes, Why Your Primer Sprays or Looks Dry Auto Body

Great tips, thanks for sharing. We don’t realize that there are a few things we need to do before painting a car by self. The tips on removing the lights and readjusting them is useful. It’s also important to paint in one direction, if you’re new to painting.
Thanks for sharing such an informative post. Great reading about it. I’ll recommend it to my colleagues!
Awesome! Thanks for all your support, Mark! Appreciate it!