Did you enjoy the video? Check out the LABAP VIP course that will help turn you into an auto body and paint pro, from home!
Hey, it’s Tony from LearnAutoBodyAndPaint. Today’s topic is all about Straight Sanding, Guide Coat, and Blocking Techniques Made EASY.
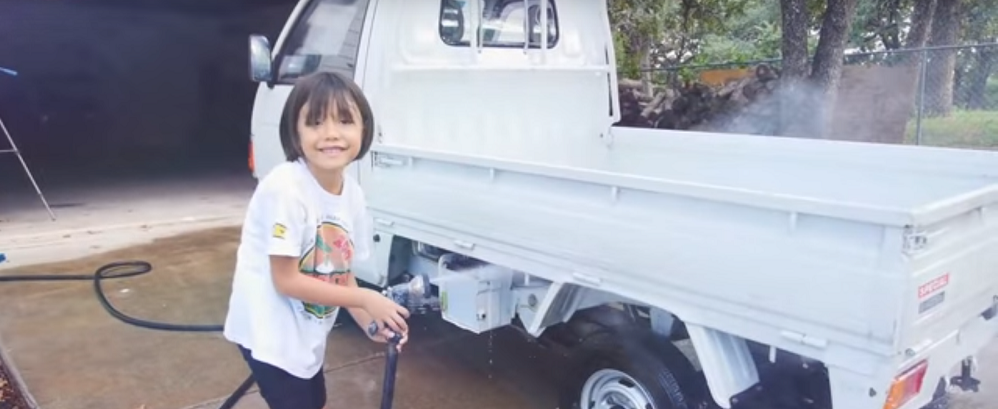
We’re almost finished with the body work on the 1989 Daihatsu Mini Jet. In this segment, we’ll be doing some straight sanding using an 80-grit sand paper.
This door is very flimsy so it is quite tricky working on this door. I’m hardly pushing at all because I didn’t want to work on the panel as you are sanding.
When working on classics with thicker metal with creases and door lines that make it sturdier, then you won’t have an issue and problems. However, the panel of this mini truck is very tricky to work with.
If you are beginner, I recommend using a guide coat to show you the high and low spots, so you can easily see what you’re working with, what you’re cutting and what you’re not cutting. I’ll be using some guide coat on this.
Check out the video as I show you clips on my the work that I have done with this project.
The goal is to eliminate the white spots on this truck. Since the panel is flimsy, I need to be very careful. When working with panels such as these, you will need to take your time in doing this to avoid any problems. We’ll have to give this thing one more coat for final prep.
If you don’t have a straight sander, you can use your hand and a 12-inch flat block. This cutting part is a little time consuming.
We are dry sanding our entire truck with a DA Sander and a 320-grit sand paper. We’re sanding the body panels so when we get overspray with our primer, it will stick on to something. I recommend anywhere from a 280-grit to 320-grit sand paper. If you are putting a good 2K primer on it, it will fill everything and you won’t have any issues.
There is a misconception that you can’t wet bondo because it will give you problems. At this stage, you can wet it. It will not hurt it but you have to make sure that it’s dry before you continue with your primer.
I wouldn’t recommend priming it on the same day. You can prime it the following day. The reason why I like wet sanding than dry sanding is because it cuts cleaner and less messy and lastly, you can work with your hands in tight areas.
Watch on!
It’s Tony from LearnAutoBodyAndPaint. Thanks for watching the video. I hope you learned a lot to help you with your own custom projects.
If you want to get started with your own custom projects, grab your FREE 85-Page Auto Body And Paint Manual. Are you serious and ready to take on a car project? Get comprehensive training with step by step information.. AND get access to the complete 1989 Daihatsu Mini Jet series in the LearnAutoBodyAndPaint VIP Program. Sign up now!
Please SMASH that Like button, Share and Subscribe to my videos.
Talk soon! Cheers!
Tony
Other Helpful Links:
Secrets To a Professional Gloss When Color Sanding And Buffing Your Car
Color Sanding And Buffing Tips
U Pol Glaze Spot Putty Application & Sanding Tips Before You Paint Your Car