Did you enjoy the video? Check out the LABAP VIP course that will help turn you into an auto body and paint pro, from home!
Hey, it’s Tony from LearnAutoBodyAndPaint. Today’s topic is all about Color Sanding the Daihatsu Hi-Jet.
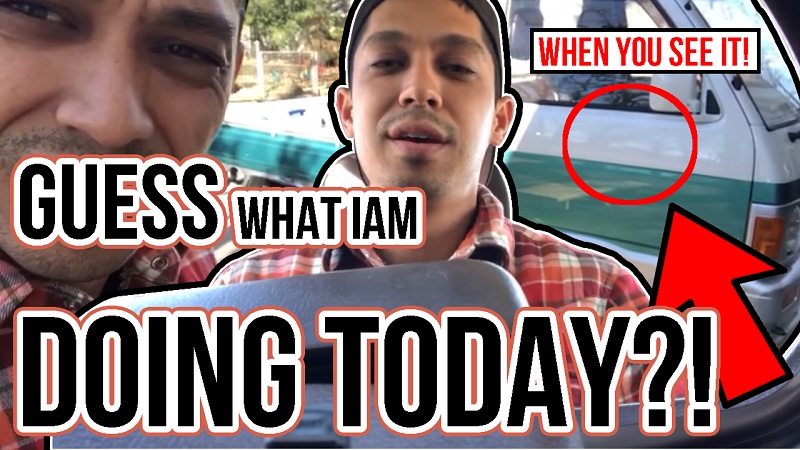
Hope everything is going well for you. I’m moving some cars around so I can get to work in my shop. Here’s my Tacoma and my Daihatsu Hi-Jet. The Daihatsu Hi-Jet is a Mini-Truck. It’s a right-hand drive, but it’s super fun to drive.
The plan today is to finish off the Mazda Miata and do wet sanding. Check out the video as I show you what I did.
It looks like a fighter jet matte. This is what you want it to look before you start buffing. I cut it down with an Eagle 1500-grit Super Tack on a cheap orbital Harbor Freight DA Sander.
The Mazda Miata has been sitting for a while now and I like to have my clear coat sit for a while. The longer, the better. Ideally, it should be 3-4 months or even up to a year. The one on my Mazda Miata is 1 ½ years old and I’m painting it right now.
You need to get it super flat like what you see now on my Mazda Miata, because it’s going to look like glass. I need to do more work my headlights as you notice there’s still a little texture on it.
The car is pretty much done. This will definitely look glossy. I don’t need to go all the way down. The bottom still looks glossy. If this is a show car, you need to go all the way down.
I’m not going to go crazy on this thing. I’ll just do the highlights which is the hood, the trunk, the top 6-8 inches of the car. That’s what you would do most of your buffing.
I will start cranking on the Daihatsu Hi-Jet today. It does have a little paint texture to it. I wouldn’t call it orange peel. But, the paint came out not bad at all.
I have a little run here and I want to be careful with this when I fix it because I don’t want to repaint. I will take my time when sanding this out.
We’ll be doing the doors, the front, some parts of the side and I think I have a little run on the tailgate which I need to fix as well, but not the bumper covers as it looks great.
I haven’t been working on the shop because of the cold. I would advise working on a warm day. You’ll have a lot of issues when you spray cold products. Your paint will be a lot thicker, you’ll not be shooting with your gun properly and you’ll have cold metal. There will be a lot of problems, so I discourage you to work during the cold weather.
It’s Tony from LearnAutoBodyAndPaint. I hope you enjoyed today’s video. The Mazda Miata Series is in the LearnAutoBodyAndPaint VIP Course. For those who are interested, check out VIP now.
Don’t forget to grab your FREE 85-Page Auto Body And Paint Manual so you can get started working on your own custom car projects. You’ll have tons of free information which you will absolutely love.
I also launched The Pub which is a free forum community. We have a lot of people who already signed up. You can share your stories, post your projects and get connected with other car enthusiasts.
Please don’t forget to Like, Share and Subscribe to my videos. Thanks for joining me today. I will be recording the entire process of my work today.
Have a great day! Talk soon! Cheers!
Tony
Other Helpful Links:
Color Sanding And Buffing Tips
Live Auto Bodywork Straight Sanding and Blocking
Color Sanding Tips and How To Buff a Car
Wet Sand & Dry Sanding Techniques When Prepping for Base Coat Painting
How To Color-Sand and Buff Clear Coat To Get PRO Mirror Finishes!

