Did you enjoy the video? Check out the LABAP VIP course that will help turn you into an auto body and paint pro, from home!
Hey, it’s Tony with another blog. Today’s topic is all about Secrets To a Professional Gloss When Color Sanding And Buffing Your Car.
This is going to be another exciting video because once you are at this stage, your project is starting to look the way you want.
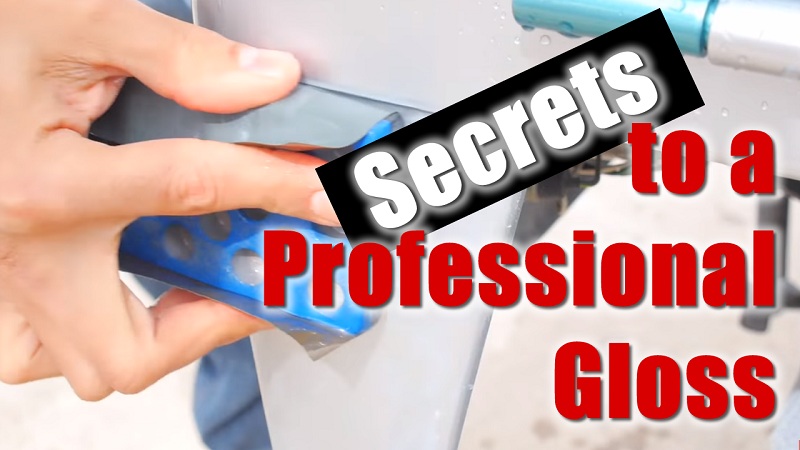
We’re using a 2000-grit paper on the holy block to take out a little run on the seam. It’s pretty much dry and flat in that area.
Remember, the whole process of body work is art. You can perfect it and be a little meticulous or do a short cut. At the end of the day, it’s how you want it to look that matters.
We’re now getting into hard core buffing. Let me run down the grits that you can buff over. You can use 1500-grit, 2000-grit, 2500-grit and 3000-grit.
I talk about this further in some of my videos. However, I won’t talk in-depth about it in this one.
If you want to learn more, grab your FREE 85-Page Auto Body And Paint Manual and get cranking on your own custom projects.
Now, in this part, I am sanding the Daihatsu Mini Truck with 2000-grit because we will be buffing it out.
I already sanded it with 1500-grit on a DA earlier and now we’re washing it down with 2000-grit. If you look closely, we’ve sanded down the run completely on this panel.
I took my time with the block and sanded it all out. If you really want to do a good job, don’t rush the job. Take your time in sanding to achieve excellent results.
Once we’re done washing it with 2000-grit, we’ll dry it off and it’s ready for buffing.
Watch the video as we get started with buffing.
We’re going to use the 2-step system, which is common for pro gloss finishes. There are two types of buffers that we use.
We have the high speed rotary, which you see in the video. You can also use the orbital DA style, which will be shown in a little while.
For newbies, I recommend having both, but you may want to start with the DA style. Although, it takes longer to buff with the DA Sander as it doesn’t have the speed and cutting power like the high speed rotary.
Using the DA is good with small pieces, but I don’t recommend it for bigger projects or for a complete car.
When using the rotary, please don’t do what I’m doing in the video, especially for newbies. If you notice, I have the plastic pieces on.
You can easily burn the adjacent plastic if you’re not comfortable and not a pro in what you’re doing. I can easily burn that lens if I don’t know what I’m doing.
Continue watching the video and enjoy!
For all VIPs, the complete Daihatsu Mini Truck Series will be in your member’s area. For those who are interested in joining the VIP community, check out the LearnAutoBodyAndPaint VIP Course.
If you want to bang out your own custom projects, without the $50,000 spray booth and save thousands of dollars, get the exact look you want on your own cars, I highly recommend that you join VIP now! Get cranking and be part of our VIP community!
It’s Tony from LearnAutoBodyAndPaint. I hope you enjoyed the video and learned a lot from it. Please don’t forget to Like, Share and Subscribe to my videos!
Please let me know what you think! Talk soon! Cheers!
Tony
Other Helpful Links:
Color Sanding the Daihatsu Hi-Jet
U Pol Glaze Spot Putty Application & Sanding Tips Before You Paint Your Car
Color Sanding And Buffing Tips