Did you enjoy the video? Check out the LABAP VIP course that will help turn you into an auto body and paint pro, from home!

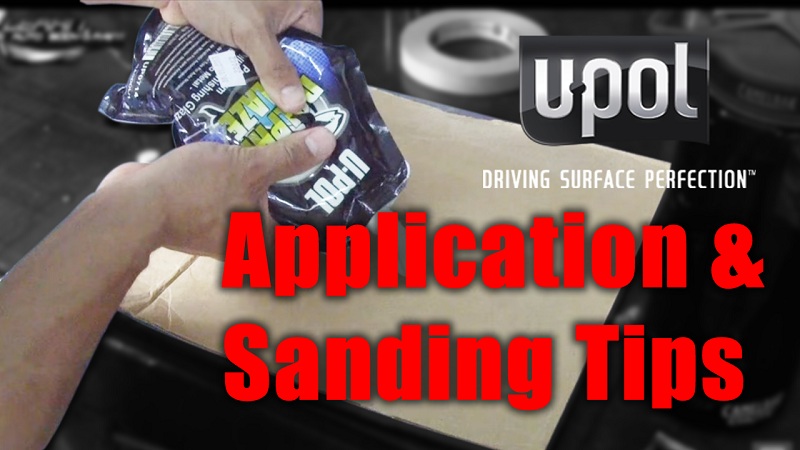
Hi it’s Tony with another video on the U Pol Glaze Spot Putty Application & Sanding Tips Before You Paint Your Car.
We’ll be applying some glaze putty on the some panels. We mixed up some U Pol Glaze Putty to put on the Daihatsu Mini Truck Project. Check out the entire video as I do a demo.
You fill it, let it dry then block sand it with 400-grit to get it nice and flat. After which, we’ll wash the entire truck down and block sand with 400-grit wet sand.
Make sure that you don’t go down to metal when you do your wet sanding. You just need to sand it flat and smooth.
Doing glaze putty is the final step of the process. When using the spreader, make sure that you want to make sure they are really clean.
I clean it off with my nail. But I like to also use my jeans to clean the tip off to shave off the old plastic, which makes it very nice and smooth. This is what I do to all the squeegees when doing body filler or glaze putty.
It’s Tony from LearnAutoBodyAndPaint. I hope you enjoyed the video today. If you want to learn more about DIY auto body work, grab your FREE 85-Page Auto Body And Paint Manual.
Check out the LearnAutoBodyAndPaint VIP Course if you want to have complete access to my video series. I will be uploading the Daihatsu Mini Truck Project in VIP soon, so go check it out now.
Please Like, Share and Subscribe to my videos.
Talk soon! Cheers!
Tony
Other Helpful Links:
Color Sanding the Daihatsu Hi-Jet
Block-Sanding Body Filler and DIY Auto Body Talk (Sanding Body Filler on Plastic Bumper)
Color Sanding And Buffing Tips
Final Sanding HACKS – 2K Prime, Glaze Putty, Dry/Wet Sand, Clean and Prep for Paint!
How To Correctly Do Auto Sanding On Bodywork Repairs
Last Updated on April 16, 2018 by Tony