Did you enjoy the video? Check out the LABAP VIP course that will help turn you into an auto body and paint pro, from home!
Hi it’s Tony from LearnAutoBodyAndPaint. We’re going to do a “Quick CX-5 Body & Paint Spruce”.
Let’s go ahead and grab some masking tape and put some on my screwdriver. Here’s a trick I want to show you when you want to take out some plastic trims without damaging your paint.
Check out the video as I demo how I popped out some of the pieces of my car without damaging the paint of the CX-5. It’s pretty easy but quite hard for me with one hand holding the camera. LOL!
The entire bumper cover and hood will be painted, but I also wanted to paint out these pieces that I’m taking out. Those pieces will be gloss black as well as the bottom part.
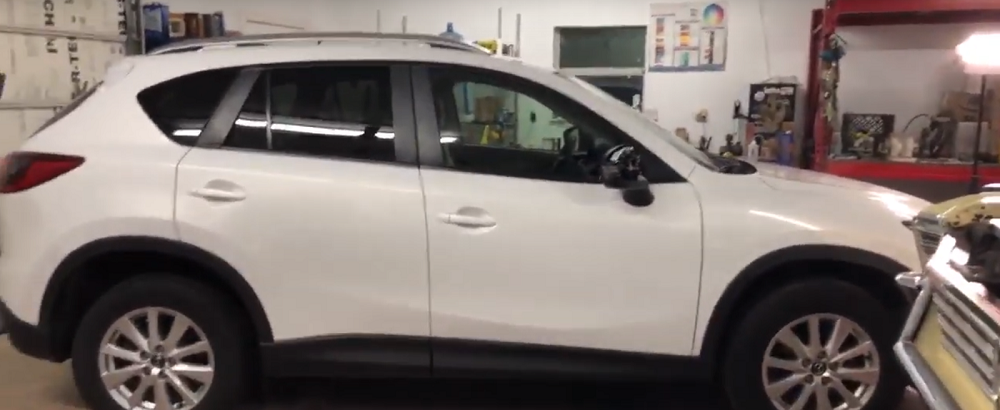
This is a 2014 Mazda CX-5 which will be the next project to be uploaded soon in the LearnAutoBodyAndPaint VIP Program. Everything will be documented in step-by-step. VIPs, please stay tuned!
If you are not yet a VIP and are interested to get access to my complete projects, head on over to the website and check out the LearnAutoBodyAndPaint VIP Course.
I am sure you will definitely love the course! J All my lifetime VIPs are enjoying the program, with new content released every once in a while apart from the comprehensive modules that is already in the member’s area.
If you want to get started with auto body work and paint, go ahead and download your FREE 85-Page Auto Body And Paint Manual. Get cranking and be a #bosspainter!
We’re going to turn this granny CX-5 into a sporty CX-5. We’ll be doing some crazy stuff to it and boss this thing out.
It’s a clean 2014 CX-5 that I recently scored in eBay. You won’t believe how much I bought this thing! I want to make this look cool and do some auto body hacks to it. Maybe I’ll use if for a while, then flip it and make some extra dollars. That’s the way we roll!
Phase 1 is paint some little pieces that I took out. Then, phase 2 is doing the bumper cover and hood. I’m not going into phase 2 now because I need this on the road and start driving it to get some groceries.
Basically, what will be painted in front will be the bumper cover and hood. We’ll not be painting the fenders and doors. All of these are good. We will be doing some pinstripping using Prostripe. I love Prostripe because it looks really cool. It’s vinyl with beautiful colors. If you don’t like it, then don’t use it but I do.
Then, I’ll be doing some cool graphics design with the pinstripe in one area of the car and later on doing some gloss black on the bottom of the car. I will glossing all of the flat plastic.
And, I might even plasti dip the wheels. I think it will look good. What do you think? Let’s take a vote, plasti dip the wheels or leave them silver? Plasti dip is easy compared to making it gloss black. Then, I will be putting these running boards as well. It will look awesome once this is finished.
Again, it’s Tony from LearnAutoBodyAndPaint. Thank you so much for joining me today. Please SMASH that Like Button! Share and Subscribe to my videos.
Cheers! Talk soon!
Tony
Other Helpful Links:
How To Reduce Pollution When Spray Painting A Vehicle
Automotive Paint Scratch Repair At Home DIY
Make Money With Auto Body and Paint – Estimating Tips!
Auto Body – Flake and Candy Paint Project and DIY Q&A
DIY Learn Auto Body Q&A Live !!
Last Updated on January 5, 2019 by Tony