If you love this video, check out the LearnAutoBodyAndPaint VIP Program to get over 100 hours of training videos, e-reads and bonuses! Be a #BossPainter now!
Hey it’s Tony from LearnAutoBodyAndPaint. Here’s another Q&A video and the topic is Spraying the Lip Edge.
Here’s what Carter, A LearnAutoBodyAndPaint VIP member says,
“Tony, when painting a door, hood, deck lid, edges, I’m wondering if it would make sense to spray around the edge first, angling the gun into the cracks to get some coverage on the part edges all the way around. And, once completely doing this around the circumference, then going ahead with a standard forward and back panel painting process. I worry that painting straight onto the panel won’t fully cover around the edges once the panel is complete. I worry that trying to spray into the edges after, will make unwanted overspray problems on the completed panel.”
You could actually do it both ways. When you’re doing a standard painting and cross a panel and coming to the edge, you’re tilting the gun in a little bit, so it does cover.
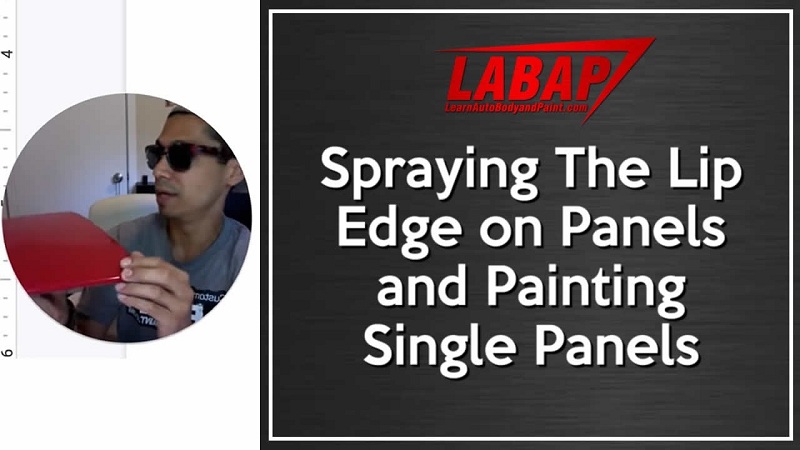
This technique is mostly used when you’re doing a single panel in a booze. Say your painting a fender or a door, this is what you call spraying into the lip.
Here’s a headlight panel. You could do it before or after, spray it flat on, and at the very end just coat the edges, go around the edges.
There’s really not much you can do if you have a complete car put together, and you’re trying to get in those edges. If you have a big lip such as this, I would go over it.
On the other hand, if it’s a hood where it shows, then I’d recommend that you paint underneath the hood and get all the edges.
It’s Tony from LearnAutoBodyAndPaint. Grab your FREE 85-Page Auto Body And Paint Manual, and learn more about DIY auto body.
For those who are serious about car painting and getting pro results on your own custom cars, check out the LearnAutoBodyAndPaint VIP Program and be part of the #BossPainter community!
Guys, don’t forget to SMASH that Like Button, Share and Subscribe to my channel.
I hope you are enjoying today’s video on my Q&A Series! Keep on cranking!
Talk soon! Cheers!
Tony
Other Helpful Links:
Collision Repair: Learn How To Straighten Auto Body Panels
Using Auto Body Filler and Glaze Putty to Remove Damage from Automotive Body Panels
Painting Auto Body Panels And Blending Paint
Picking YOUR Air Compressor For Automotive Painting – DIY Garage or Shop Air Compressors
Last Updated on August 10, 2019 by Tony