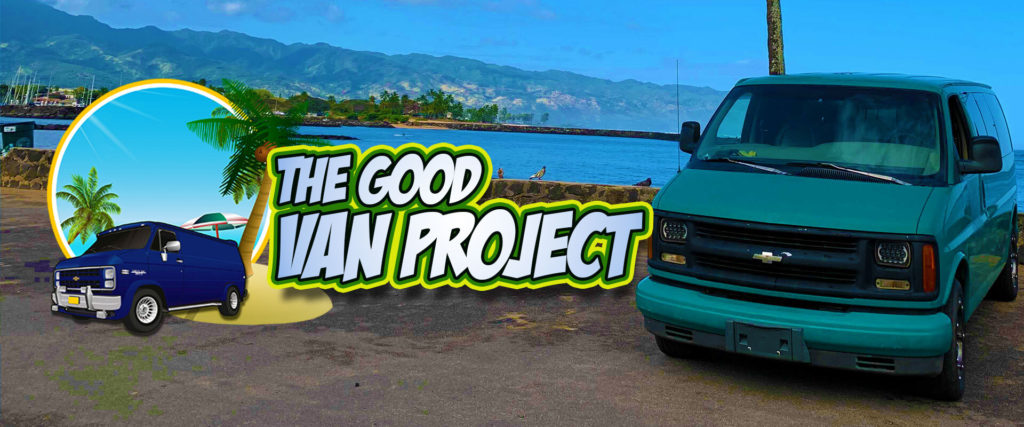
Read this post on how to properly prep and spray 2k filler primer over your bodywork along with some glaze putty application and tips before we spray our single stage enamel paint. Don’t forget to sign-up for to Learn Auto Body and Paint FREE Training for the step-by-step autobody work/process of “The G.O.O.D. Van Project”. Please also LIKE and SUBSCRIBE to my YT channel for new videos coming out soon.
✅Prepping 2k Filler Primer (DTM)
We’re going to be mixing a 2kg filler primer to put on our body filler and some of the metal pieces showing. We’ll be using DTM primer, which is a direct-to-metal and we’re just going to mix it up because we haven’t used it in a few weeks. So we’re just going to make sure you have good consistency before you add your activator to it.
I’m going to be shooting it out of the Atom X27 spray gun LVLP with a 1.4 tip. And when spraying out of a 1.3 or 1.4 tip you want to make sure to reduce it by about 10% so this way, it can flow out easier.
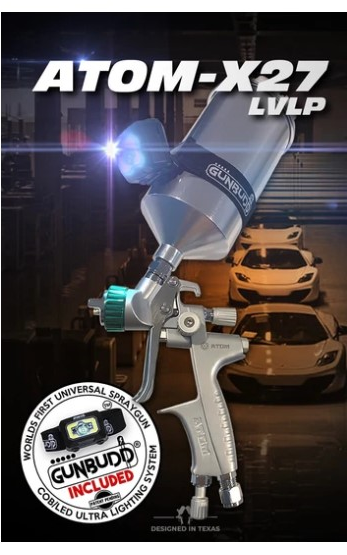
‘The ALL NEW ATOM X27 PRO MP-LVLP Solvent/Waterborne Professional Automotive Spray Gun!”
✅Paint ratio and set time after mixing (pull out the cup filter before spraying)
So it’s a 4:1 mixture plus 10% or 20%, it’s up to you. So I’m going to do the 4:1 probably not going to use all the paint but we’ll make a little extra. Be sure to wear gloves and when you’re mixing it, you’re going to notice the top is very thin and then the bottom is going to be very thick.
Just keep mixing until you get an even consistency and it’s going to be a few minutes of mixing usually. Then you can let your primer sit for about 10 minutes or so before you start painting. because there is a set time after mixing. We’re also going to pull out the filter because normally you don’t need filters when spraying a 2K filler primer, It sometimes just slows up the flow.
✅Spraying primer at about 18-22 PSI and spraying tips
Sometimes, people, they’re gonna say my primer is spraying on really dry and look sandy. So if your primary spraying on really dry looking, I’m intentionally putting it on a little light because I just want to make sure I just cover one time. I’m gonna go over it a few times and then just cover the metal.
But when it’s coming out sandy and dry, it means you’re spraying at too much lower air pressure or your material is way too thick. And it could also be a combination of both thick material and low pressure.
So if you’re having that issue, reduce your primer down a little bit and make sure you’re spraying in the range of 18 to 22 or 23 PSI max. But normally with primer, you’re looking for coverage and fill not the most superfine atomization o you’re normally spraying at about 18 to 22 pounds, full fluid flow.
✅Textured plastic bumper painting tips and touch-up paint for metal and glass
The goal here is to fill all of our sand scratches. Fill the pinholes sometimes you’re going to miss filling the pinholes like it’s just not enough primer to fill it. So that’s when you put your glaze putty and we’re going to be doing that also after this primer step.
The bumper covers are going to be black and the plastic mirrors that we had. We’re just priming up some of the plastic and some people asked “Do I need to prime the plastic or can I just put adhesion promoter?” well, you can do either or you can do both. It depends on how you want the finish to come up.
If you’re looking for a quick paint job and you don’t care about the paint texture, if you want to fill it and get it looking like glass like the rest of the body, then you can fill it with a 2k filler primer. Scuff it, sand it with like a 320 grit give or take.
You don’t want to go too rough with 80 grit because it’s going to be too much. You’re gonna cut the plastic up, get a rough look in it. The goal is to fill up the plastic texture with your 2k filler primer.
And then when you sand it and cut it down, you basically remove it. But here I’m just priming the bumper just because I wanted the bumper to be gloss black single stage and I wanted it to come out really nice. So that’s why we sprayed the bumpers.
And when I’m saying Day 3, it’s pretty much two to four hours a day. Today I put a good four hours in and got everything primed up. The whole van is sanded including the roof, the patch on the top is sanded and primed, and holes are filled. We got a little bit of pinhole in here, but not too bad. We’re just going to fill that with a little glaze putty and hit it flat with probably the 400 grit.
Again, this is a quickie paint job, nothing crazy. We touched up the metal that was showing. I use low pressure and we got a little bit overspray on the glass, not a big deal because we could razorblade the glass when it’s done.
We primed up our plastic just quickly and bodywork some of the metal that was showing.
✅Sanding 2k filler primer with 320 grit (using D.A.) then applying glaze putty on pinholes and spraying paint over glaze putty
So we’re just going to get our DA quick and just hit it, scuff it with 400 grit, scuff all the wood with 400 grit. If there are any little imperfections, we’re just gonna fill it with glaze putty Like a little bit of the fiber strands are coming out so we’re just gonna flat, block it with 400 grit. Pinholes, we’ll fill up with a little glaze putty.
You want the hood to come out nice so I’m gonna go ahead and fill little things up with glaze putty and make it look really good. Even the bumper cover we have a little stress crack in the metal, we’re gonna fill that up with putty, and make the front look really nice.
If you can still see the texture or orange peel in the primer all we have to do is just sand a little bit more and get it flat, that’s how you get rid of plastic paint texture. I’m actually going to be doing a raptor liner at a later point but I did just prime everything.
So we’re sanding everything down with like a 360, I got some 400 grit also. We’re just kind of like re-going over all the panels. All the bodywork is done we’re just cutting the 2k filler primer and if we have any areas where we have to do some glaze putty, we will do it.
*D.A. Sander and sandpaper by KOVAX
*Glaze Putty by UPOL Dolphin Glaze
✅The proper way to do pinholes in your Bondo
So we got a couple of pinholes pretty much filled, all the nicks and chips and this is the stage if you want to fill and get every little minor nick and chip that didn’t come out during the major body work process.
If you notice a lot of pinholes in your Bondo, your body filler, the ideal thing to do is just mix a little bit of putty body filler, just fill it and then sand it with like 240 grit, but you could also just get it primed, see what the primer fills and if there’s any more leftover, you fill it. We’re gonna let that cure and then we’ll be ready to paint.
More Helpful Auto Body Videos Here⬇️⬇️⬇️
The Basics: Auto Body And Paint Your Car Yourself Without Spending $1,000s
Live Autobody Work On The Good Van Project “DIY” and Auto Body Q&A
How To Apply Automotive Primer Paint: 1k Primer/Sealer, 2k Urethane, Rustoleum Primer || Q&A
Custom CANDY Burple_Teal FADE Paint Job on OneWheel Fender A-Z Auto Body Process!
$25 Spray Gun VS Mid Grade $150 Spray Gun – Spraying 2k Filler Primer + Golden Paint Tips!
▶️Get a Special FREE TRIAL offer to Learn Auto Body And Paint VIP:
https://www.learnautobodyandpaint.com/
Get complete auto body and paint DOMINATION and training here:
https://vip.learnautobodyandpaint.com/exclusivevip
Other Auto body Courses:
▶️How To Flip Cars For Profit: https://howtobuyandsellyourcars.com/
Looking For Automotive Painting Tools? ⬇️⬇️⬇️ With Great Deals and Discounts
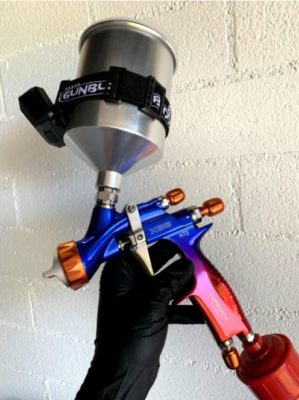
▶️Spray Paint Gun (ATOM X Series): https://www.zoolaa.com/
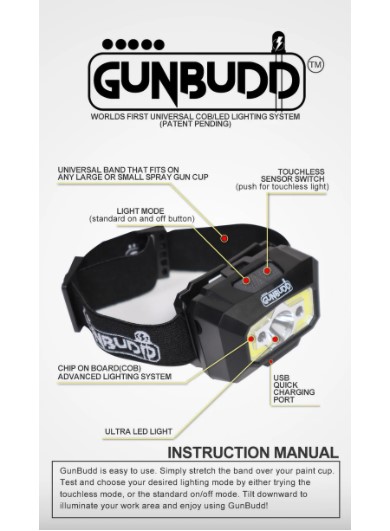
▶️Spray Gun Light (GUNBUDD): https://www.zoolaa.com/products/gunbudd-spray-gun-cob-lighting-system
Social Media Links:
🔗Connect on Facebook for More FREE Updates: https://business.facebook.com/paradicegarage/
🔗Follow me on Twitter for more Project updates: https://twitter.com/thetonyrichie
🔗Instagram: https://www.instagram.com/tonybrichie/
Special Training Videos and Guides On How To Build Your Wealth With Cryptocurrency:
Crypto For Beginners – How To Get Started: https://cryptowaters.com
➡️Subscribe To Crypto Youtube Channel: https://www.youtube.com/c/TheTonyRichie