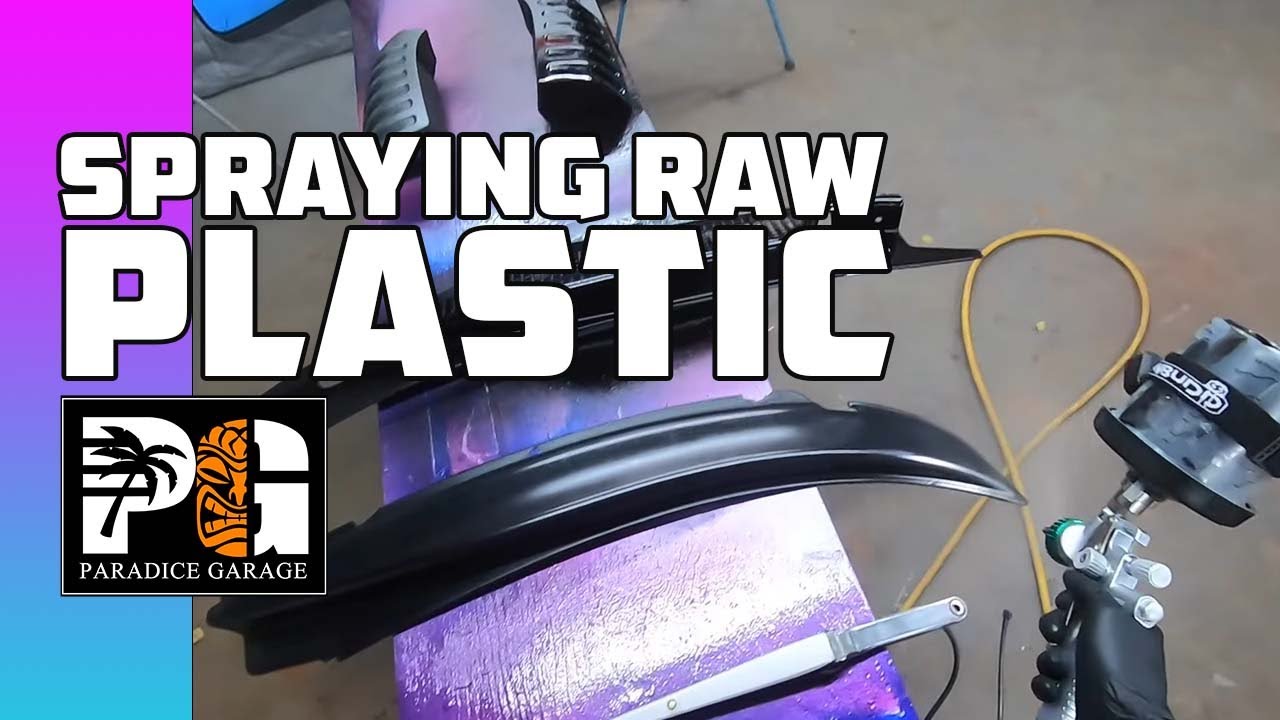
In this post, we’re going to give a lot of tips on the step-by-step process of prepping and painting raw plastic, aluminum, and steel parts using single-stage. Know what sandpaper grit to use, the PSI settings, the paint, and the tools you need for a project like this. Don’t forget to sign-up for to Learn Auto Body and Paint FREE COURSE for the step-by-step autobody work/process of “The G.O.O.D. Van Project”. Please also LIKE and SUBSCRIBE to my YT channel for new videos coming out soon.
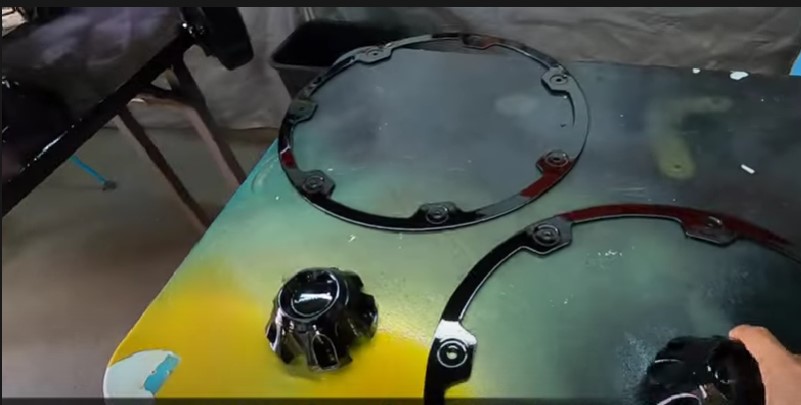
🔴🟡🟢Prepping our plastic pieces, some metal pieces, the steel caps around the rims, plastic mirrors, and the steel windshield wiper. 🔴🟡🟢
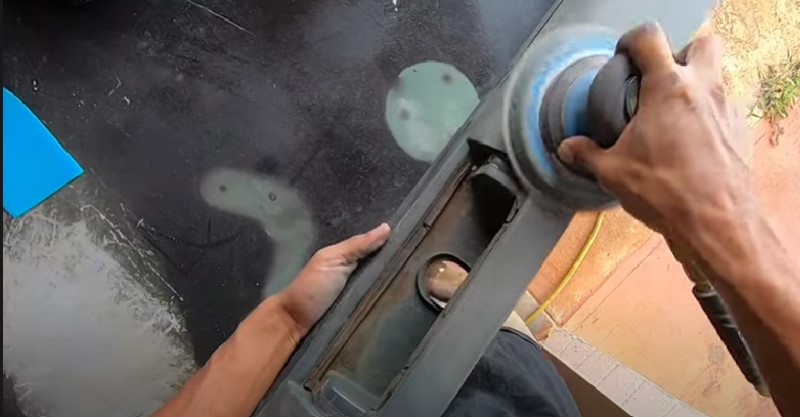
✅Getting rid of corrosion and sanding tips
We’re sanding everything down to get rid of the corrosion on those pieces. Anywhere from this is going to be painted with a single-stage paint. So if you’re painting over a 400 Grit, that’s great. What we’re going to do is sand all the plastic down with 400 grit, you could go anywhere from like a 360 grit, 380 to 400 depending on if you need to take the paint off.
✅Sanding and spray painting tips on aluminum rims
But these aluminum pieces here we’re still using 400 that goes around our rims and we’re going make these black. The interior rim part is gunmetal, it looks good so we’re just going to clean those. There are two ways to do this, you can spray the single-stage over the metal as long as you put an adhesion promoter on it. If you want you can also prime it with a 2k filler primer and then sand that down and then paint it. Make sure to get every nook and cranny, and we’re using 400 grit again.
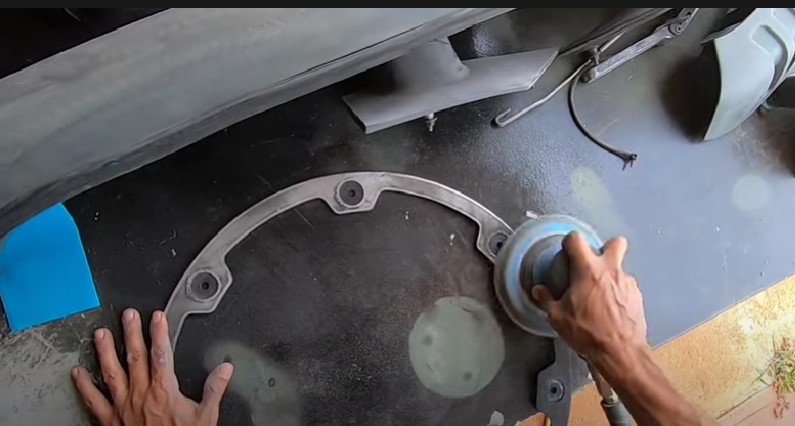
I’m sanding the inside part making sure everything is sanded so when we paint, we don’t get any chipping years down the line. So we got our plastic pieces all sanded down, everything’s pretty much prepped up with 400 Grit so after this, we pretty much blew everything down, washed it, and let it dry then basically got ready for paint.
✅Cleaning sanded parts using glass cleaner or wax and grease remover then tack all parts
We sanded everything down with 400 grit, dry sand, and blew everything off. I don’t usually use glass cleaner but in this example here, we’re going to use glass cleaner instead of wax and grease remover which I have in this spray bottle here. This is good stuff, wax and grease remover. You always want to clean your parts before you spray anything on them ( for primer, adhesion promoter, or paint).
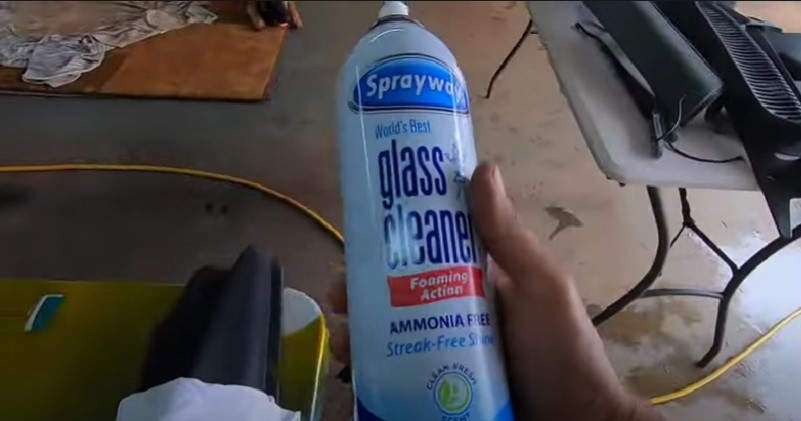
I’m going to use glass cleaner. I like this stuff because it comes out nice and foamy but we don’t want to put too much just a very light application, and then wipe it down. We have all these plastic parts that are going to be spraying single-stage gloss black.
✅Spraying adhesion promoter over raw plastic and aluminum (removing plastic texture tips)
If you want to get rid of the plastic texture in some plastic parts, I would 2K filler prime it then sand it down flat with 400 then paint it. It will look like a regular glossy body panel. But if you’re not really concerned about the porous paint texture on mirrors and bumper covers, you could just spray some adhesion promoter on it and just paint it
✅ Mixing single-stage acrylic (mixing ratio)
Make sure that every time you open up a can of paint, you mix it because you don’t know how long it’s been sitting at the paint shop or even if they put it in a mixer. Just double-check always because sometimes there’s going to be build-up at the bottom of the can, and you want to make sure you mix that in before you start mixing your paint. This is eight parts to one mixture so every eight ounces of paint, you’re going to put one ounce of hardener and then up to 10% reducer.

✅Spraying paint tips (PSI settings)
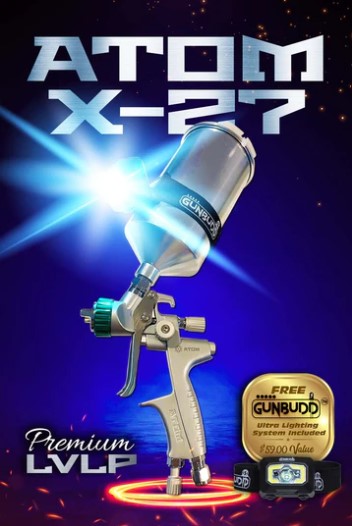
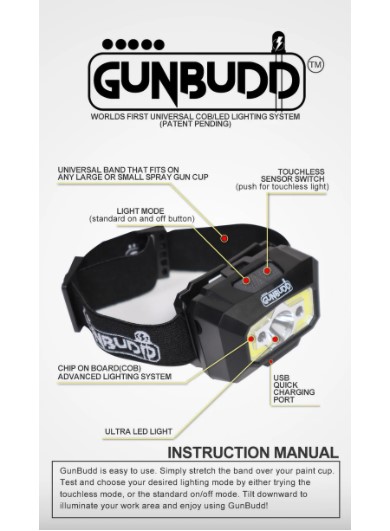
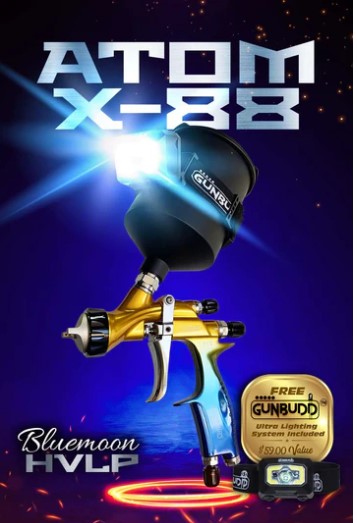
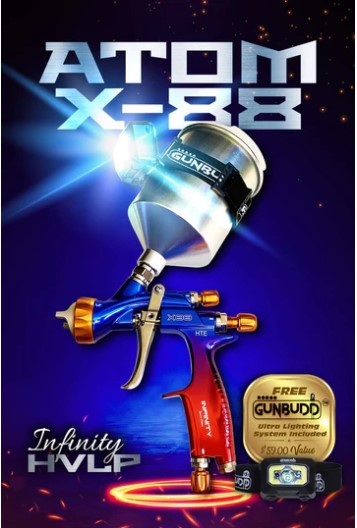
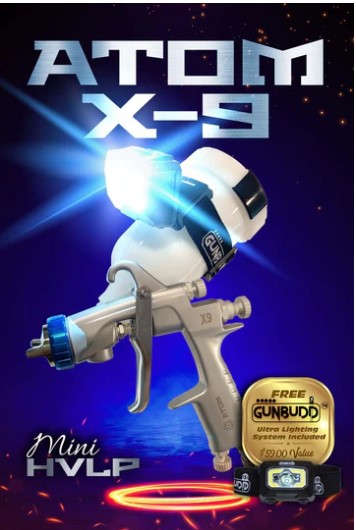
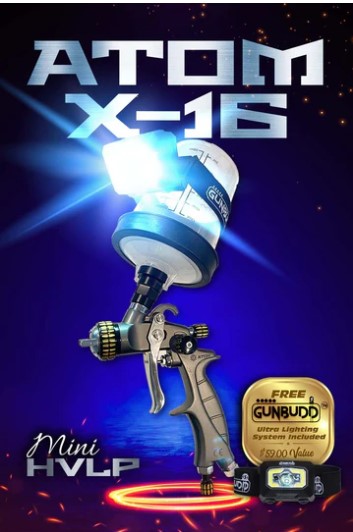
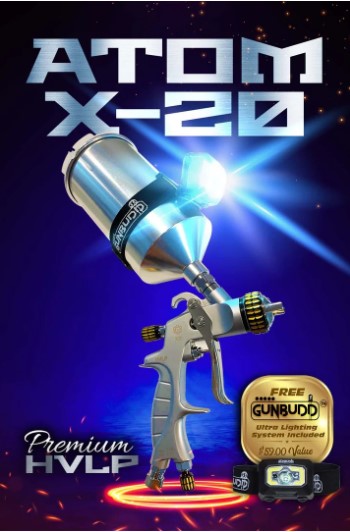
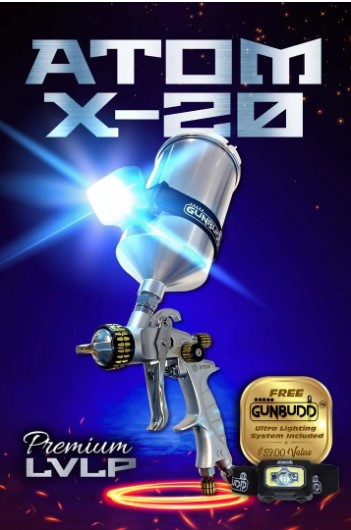
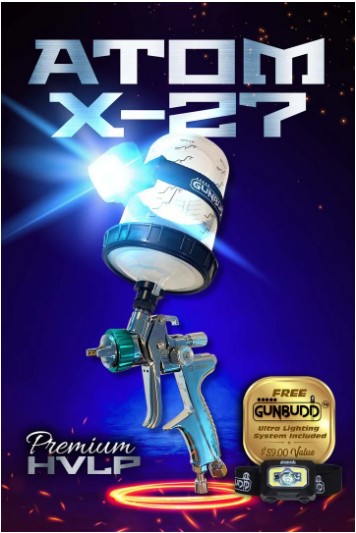
Now, we’re gonna load our gun, we’re using the X27 Atom spray gun, it’s a really great gun. We’re using the low volume low pressure version with the GUNBUDD Ultra lighting system and I love it.
Check out the Gunbudd on Amazon, eBay, or at www.zoolaa.com, amazing product with hundreds of reviews. It helps you see so much better when you’re painting. You’re absolutely going to love it because it’s universal so it fits on any spray gun that you have also.
So when painting single-stage the first coat, you’re gonna give it like a medium wet coat. Don’t be concerned if it’s not coming on super glossy, that’s just how it is your first coat, never looks complete.
You could even give it a tack coat at first if you want and then two medium wet coats, up to you. I usually just put on a good medium coat in the beginning. Then the second coat is a little thicker followed by another wet flow coat.
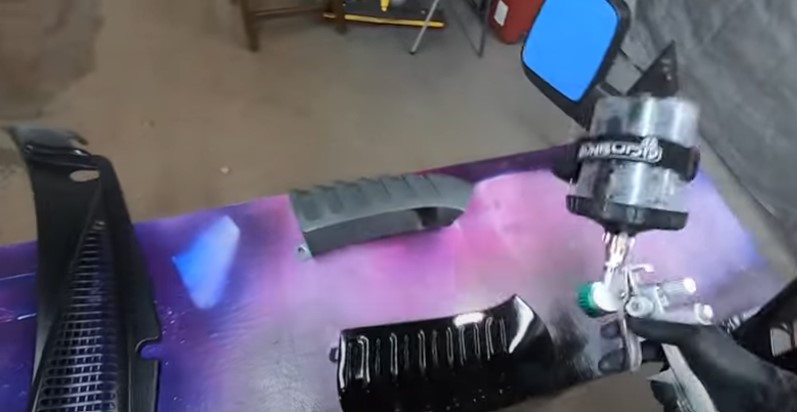
Here we’re spraying at about 21 to 22 pounds. I could up the PSI a little bit more but it was falling out nice so I decided to just leave it at around 22 pounds. The thing with the AtomX is they spray at such fine atomization even spraying at a lower pressure it sprays out really really well.
Normally, for a single-stage you’re going to be painting at 24 pounds trigger pulled, that’s the air coming out of your spray gun. No matter if it’s a high volume or low volume low-pressure spray gun you’re going to be painting at around 24-25 pounds but here just wanted to keep the overspray low. We’re spraying at about 22 pounds give or take and it’s coming out fantastic.
I think when it comes down to painting, you just got to take your time to see what you’re spraying. The GUNBUDD helps a lot because if you can’t see how the paint is laying on most times you’re going to be laying dry paint.
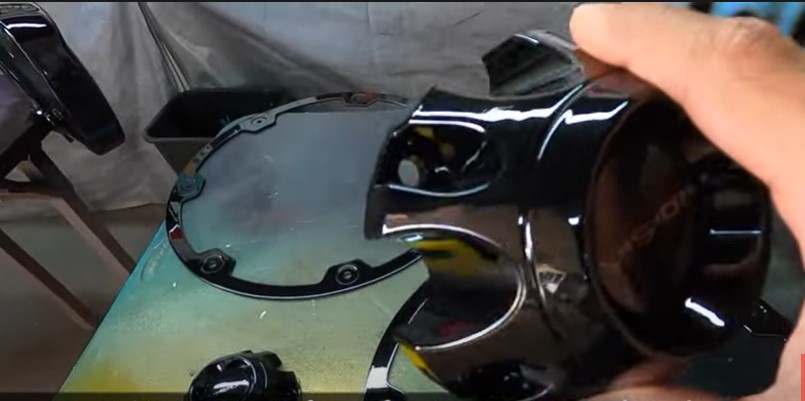
The number one problem with newbies is I think they’re just afraid to lay the paint on and they don’t lay enough. So the key is if you want glossy finishes, just to make sure it’s glossy as you’re painting but not on the first coat. The first coat is always gonna look a little rougher. The second coat and third coat are where you want to make sure it’s laying on glossy.
✅Tips on spraying paint over direct to metal
Spraying over direct to metal is not a big deal as long as you put some adhesion promoter on it, or a primer. You could do a 2k filler primer if you want or you can use epoxy, it’s really up to you. If you’re doing large metal pieces like a classic full car that’s in metal, I would definitely go with an epoxy primer followed by a 2k filler primer on top of it. You can spray that the same day as long as your epoxy flashes.
If you’re doing small metal pieces, you’ll be fine with a 2k filler primer over the metal prepped-up, sanded down with 400 grit, and then you could do paint right over. Or you could basically put an adhesion promoter on it followed by your single-stage paint.
There are a lot of ways to do auto body and this is a method that works here. Especially if you just want to get the job done fast, get it looking good, and be done with it. This is a work van and we just wanted to put a nice paint job on it and go for it.
If I wanted to make it look like a custom van or show van to make it look really really good, I would have actually put 2k filler primer on the mirrors to get rid of the plastic texture, sanded that flat, and then painted it.
If I feel like it could use a little bit more, I’ll just spray it with an extra flow coat.
✅Can you spray clearcoat over single-stage paint?
Yeah, you can, and actually, if you wanted to mix in some clear coat, you could mix clearcoat into your single stage paint and do a third coat.
So say you have your single-stage paint all mixed up on the side, mix up some clear coat, fully mixed up, and then you would add it 1-1.
If you have a quart of clearcoat mixed with hardener and reducer, you can add that with a quart of the single-stage and make half a gallon of sprayable material.
Just spray that and this way you’ll have like a mixture of clearcoat that’ll give you extra durability. The other thing you could do is just let it dry for a week or two. Scuff it down with about 1000 grit, and then put two coats of clearcoat only on top of it.
✅ Sanding grit to use on spraying over metallic
I would use 1000 grit if you’re spraying over like a metallics. But you could sand with an 800 grit and then spray your clearcoat over 800 grit as well.
However, single-stage paint is meant to be durable and look good as is. So, you don’t really need to put a clear coat over the singl-stage.
✅ Paint Finished (two days after)
I can’t wait to show you the progress, so stay tuned for more upcoming videos.
-TONY
Watch the full video for the step-by-step autobody work
Discover More Auto Body Secrets Get FREE Training! at www.learnautobodyandpaint.com

ATOM-X Quality. Performance. Results. 🎉
              *Get FREE Shipping on ALL Orders Over $249.(U.S.A.only) and FREE GUNBUDD LIGHT 🚀
More Helpful Auto Body Videos Here⬇️⬇️⬇️
The Basics: Auto Body And Paint Your Car Yourself Without Spending $1,000s
Live Autobody Work On The Good Van Project “DIY” and Auto Body Q&A
How To Apply Automotive Primer Paint: 1k Primer/Sealer, 2k Urethane, Rustoleum Primer || Q&A
Custom CANDY Burple_Teal FADE Paint Job on OneWheel Fender A-Z Auto Body Process!
$25 Spray Gun VS Mid Grade $150 Spray Gun – Spraying 2k Filler Primer + Golden Paint Tips!
▶️Get a Special FREE TRIAL offer to Learn Auto Body And Paint VIP: https://www.learnautobodyandpaint.com/
Other Auto body Courses:
▶️How To Flip Cars For Profit: https://howtobuyandsellyourcars.com/
▶️Rust-oleum Paint Job Gold Course: https://vip.learnautobodyandpaint.com/order-formbbdpuz29
Looking For Automotive Painting Tools? ⬇️⬇️⬇️ With Great Deals and Discounts
▶️Spray Paint Gun (ATOM X Series): https://www.zoolaa.com/
▶️Spray Gun Light (GUNBUDD): https://www.zoolaa.com/products/gunbudd-spray-gun-cob-lighting-system
Social Media Links:
🔗Connect on Facebook for More FREE Updates: https://business.facebook.com/paradicegarage/
🔗Follow me on Twitter for more Project updates: https://twitter.com/thetonyrichie
🔗Instagram: https://www.instagram.com/tonybrichie/
Special Training Videos and Guides On How To Build Your Wealth With Cryptocurrency:
Crypto For Beginners – How To Get Started: https://cryptowaters.com ➡️Subscribe To Crypto Youtube Channel: https://www.youtube.com/c/TheTonyRichie
Last Updated on December 6, 2022 by Tony