There are many reasons that may cause tiger stripes. It is important to know what causes and how you can avoid them. Read this post for some ideas on how to avoid this kind of problem with your car painting and more paint repair. Don’t forget to sign-up for to Learn Auto Body and Paint FREE COURSE for the step-by-step autobody and paint work/process of “The G.O.O.D. Van Project” and more custom autobody work and paint. Please also LIKE and SUBSCRIBE to my YT channel for new videos coming out soon. And if you want to learn how to make money with E-Commerce subscribe now to this link: https://ecomdomination.tonybrichie.com/
QUESTION: What causes tiger stripes?
I don’t think it’s the paint. If you have tiger stripes on painting, it’s either a gun that’s not clean or not spraying correctly so a dirty nozzle will do it. Another cause of tiger stripes is incorrect overlap or also not crisscrossing your spray pattern meaning that if you’re going to be spraying your hood this way (horizontally), what I like to do is crisscross it. Go down, pick it up and just go the other way. And I like to do a drop coat if I’m spraying sort of a heavy metallic, I’d like to up my pressure.
To avoid tiger stripes: Make sure to have the widest fan setting, and pick my distance up to about a foot to 14 inches. Then just basically just covered dust your hood in multiple directions to get that even metallic coverage, that’s the only thing. You didn’t do the drop coat/dust coat enough or your gun was dirty.
Did you actually test out your spray pattern before you were painting? So basically, you get your gun, everything set up, and you spray on a piece of paper on the wall or whatever to make sure you have an even fan pattern. If that’s even, okay, if you don’t have heavy on the top, heavy on the bottom, or heavy on the top and bottom light in the middle, sometimes you get that because of too much air pressure also. As long as your spray pattern is good, comes out like an oval shape or more of a rectangular shape depending on the guns, then it’s basically the way you lay the paint down.
QUESTION: Is it possible to paint over an existing decal? I want the decal to remain under the paint.
Absolutely you can, no problem. Just make sure you wax and grease, and clean everything really well but not too much because you don’t want to ruin the detail.
Make sure there’s no lint around the decal because sometimes if you tack it some of the tack rag fiber will stick on the edges of the decal. If you don’t spot that out and take it out when you clear it, you’re gonna have like a little lint around that area so just be careful.
And yes, you don’t have to sand it or anything just make sure it’s clean, and tacked, you can clear coat right over the decal and bury it.
We have extensive videos in VIP where we clear over all kinds of custom decals that we did on other projects. Pinstriping -sometimes you want to bury the pinstriping, and sometimes you want to clear coat over decals. We show you all of that.
QUESTION: I finally got to painting! I’m using Tamco single-stage ag series. Even when laying heavy coats I can’t avoid orange peel, got a Tekna DeVilbiss with a 1.3 tip around 25 PSI.
I haven’t used the Tamco single stage. Just make sure you’re mixing that. As per instructions on the can, if you’re having issues you might want to reduce it down a little bit by an extra 5% to have it flow out better.
Make sure you’re using a slow activator, or a slow reducer (I’m not sure what the mixture is on that painting series) but if you’re using any type of hardeners or reducers make sure you’re using slow to give you the paint time to flow out (that’s super important). You don’t want to be using a fast activator where the paint doesn’t even have time to flow out. It just kind of crinkles, it just dries quicker and doesn’t flow out.
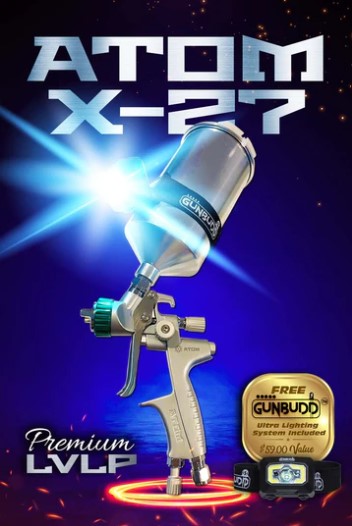
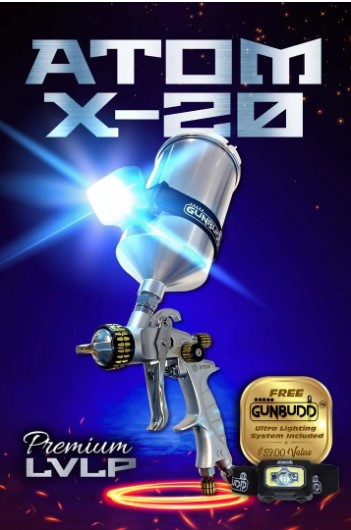
25 PSI is normal, it’s pretty good for the basecoat, and for single stage, 25-26 is fine but maybe you might want to up your pressure after thinning down your paint a little bit. You can go 26-27 and then try to lay down like that. The other thing is the gun might not be atomizing as good so you maybe want to try a different gun. I highly recommended ATOM X27, one of my favorite go-to guns.
*Get FREE Shipping on ALL Orders Over $249.(U.S.A.only) and FREE GUNBUDD LIGHT 🚀
QUESTION: I painted an area last week and had to go over another area again. Got bad overspray on another area, what’s the best way to correct or should I just respray it?
If you got overspray on something, just check out the clay bar and I show you how to use the clay bar. All you need to do is get some Dawn soap and in like a quart of water you could just put 5 or 6 drops of Dawn soap and it becomes like a soapy solution. You just wet the area, the panel, wet the glass or whatever, get a clay bar (they also sell them at zoolaa.com), and then it just comes right off -the clay bar.
QUESTION: Got some dry spots, what is the best way to fix them?
Sand everything down with 400 to 600 grit and redo it because there’s no way you’re going to be buffing out a dry clear coat on a rim. It’s just like I would rather have run than dry clear on a panel because, with a run, you can cut it, sand it and buff it. If it’s dry sometimes and if you have a good first coat on your clear coat and it’s pretty thick, your second coat lays on dry, you could sand that and buff it. But most times if you have a dry clear coat, if you don’t sand it out enough (the dryness) and you buff that you’re gonna get like compound in all those dry spots and it’s gonna look like a white dots all over your panel.
More Helpful Auto Body Videos Here⬇️⬇️⬇️
Rust Repair On Car Door, How To Avoid Tiger Stripes When Applying Metallic Paint & More Autobody Q&A
The Proper Way To Spray Over Decals: Auto Body Q&A
Paint Defects: How To Avoid Orange Peel on Your Car?|| Quick AutoBody Q&A
Applying Candy Paint Over Basecoat | Correct PSI Settings To Reduce Overspray | More Autobody Q&A
The Three (3) Ways to SAND: Wet Sanding VS Dry Sanding Plastic Parts – The Pros and Cons!
▶️ Download a FREE 85-page autobody and paint manual: https://www.learnautobodyandpaint.com/
Looking For Automotive Painting Tools? ⬇️⬇️⬇️ With Great Deals and Discounts
▶️ Spray Guns (ATOM X Series): https://www.zoolaa.com/
▶️ Spray Gun Light (GUNBUDD): https://www.zoolaa.com/products/gunbudd-spray-gun-cob-lighting-system
Other content:
🟢 The R.A.D.S. Paint Formula Video Training: https://vip.learnautobodyandpaint.com/spray-paint-secrets
🟢 Learn How To Make Money With E-Commerce: https://ecomdomination.tonybrichie.com/
🟢 Learn How To Flip Cars For Profits: https://howtobuyandsellyourcars.com/
🟢Discover how to make money with crypto: https://cryptowaters.com
More DIY Autobody and Paint Videos to Watch:
🚘 The Basics: Auto Body And Paint Your Car Yourself Without Spending $1,000s:
🚘 Proven DIY BODYWORK Tricks – Easily Body Work & Paint Your Car at Home! Part 2:
🚘 How To Spray 2k Filler Primer and Apply Glaze Putty Before Single-Stage PAINT!:
🚘 How To SPRAY Raw Plastic, Aluminum, and Steel Car Parts (Single Stage BLACK):
🚘How To SPRAY PAINT Like a PRO! Even With a CRAP GUN! (Plus Much More):
Social Media Links:
✅Connect on Facebook for More FREE Updates: https://business.facebook.com/paradicegarage/
✅Follow me on Twitter for more Project updates: https://twitter.com/thetonyrichie
✅Instagram: https://www.instagram.com/tonybrichie/
Special Training Videos and Guides On How To Build Your Wealth With Cryptocurrency:
🪙 Crypto For Beginners – How To Get Started: https://cryptowaters.com
🪙 Subscribe To My Crypto Youtube Channel: https://www.youtube.com/c/TheTonyRichie
Last Updated on February 25, 2023 by Tony