Did you enjoy this video? Check out the LABAP VIP course that will help you turn into an auto body and paint pro, from home!
Hey, it’s Tony! Thank you for watching the video and checking out the blog today. Here’s my 1998 Honda Elite SR scooter project and in this blog, I’ll show you how to paint any bike, scooter or moped step-by-step and get pro results.
First is take all the panel off, do sanding and body work and get it ready for paint. I’ll do a nice custom paint on it and make it look totally awesome.
I’m also fixing up the wheels. I’ll prime and paint the plastic cover on the wheels with the same color as the body.
First is to feather out the scratches and decals with a 150-grit dry sand and make sure that all panels are clean before body work. The 150-grit is not that rough so it won’t scratch out the plastics.
After sanding and feathering out all the scratches on the panels, even the stickers, I have to wet sand all parts with 400-grit sandpaper. Then, apply glaze putty on all scratch and scuff marks.
I was supposed to do a gloss paint job on the rims but I got a little lazy! LOL! But it’s basically a good thing because it’s going to be a different content for you.
Plasti-Dip rims are used for a flat black look. It’s been changed recently because of its gaining popularity. They rebranded it and called it FlexiDip.
It’s very durable and you can paint it on a glossy surface. It will last years. Even rock chips and car washing will not damage it.
You can basically clean it really well. I use a wax and grease remover then let it dry and just put three to four coats of this FlexiDip.
We’re going to do flat black on the moped rims. Masking is not needed because the rubber paint will just peel off tire.
Next, I’ll apply high build filler primer over bare plastic areas. Make sure to spray two to three coats of paint for complete coverage. I used the Warwick 903G Spray Gun on this.
We then move on to the graphics. The flames were mapped out with 1/8 fine line tape. It’s covered with painter’s tape and I’m going to cut it out with razor blade.
Those that we don’t want painted, we will leave it covered with painter’s tape. The rest will be masked off later.
I sprayed red basecoat for the multicolor flames with the Warwick 878SHE Mini Spray Gun which is available at the LearnAutoBodyAndPaint Shop.
Once you’re done, you can take off the fine line and masking tape then you spray two to three coats of high gloss clearcoat.
The ratio is 4:1 Clearcoat. Four parts clearcoat, one part hardener. You can add pearl and flake in your clearcoat or midcoat. I mixed red pearl, a touch of gold pearl and ultrasilver mini flake. This is going to be awesome!
Then, spray two to three coats of clear at 28-30 PSI (not cap pressure). On the last coat of clear, don’t be afraid to lay it on. Then, I sprayed all the inner plastic black with SEM bumper paint.
When you’re done, get them all together again but be careful not to scratch the new paint job.
If this is your first time learning about auto body, you’re into custom painting or you want to restore your classic, check out LearnAutoBodyAndPaint and grab your FREE 85-Page Auto Body and Paint Manual.
You’ll be signed up with my newsletter where you’ll get tons of information, freebies and a lot of cool stuff!
I’ve been doing this for about to twenty years now and I want to share all of what I learned. If you want to join our VIP community, check out LearnAutoBodyAndPaint VIP course.
Get all complete step-by-step videos on all of my projects, interact with other VIPs in the forums and exclusive Facebook page and get the full support of the entire LearnAutoBodyAndPaint team.
Hope you enjoyed the video. Talk soon! Bye!
-Tony
PS: Check out the quick intermission of my daughter Mayah in this video!
Other Helpful Links:
Learn Auto Body and Paint Q&A – Auto Bodywork Tips and Answers
How To Paint a Scooter, Moped, Bike Update 98 Honda Elite SR
How to Mask for Two Tone Graphics – Two Tone Paint Job
Master Airbrush Initial Review – Air Brush Spray Gun Review
How To Paint a Car or Motorcycle Part 1
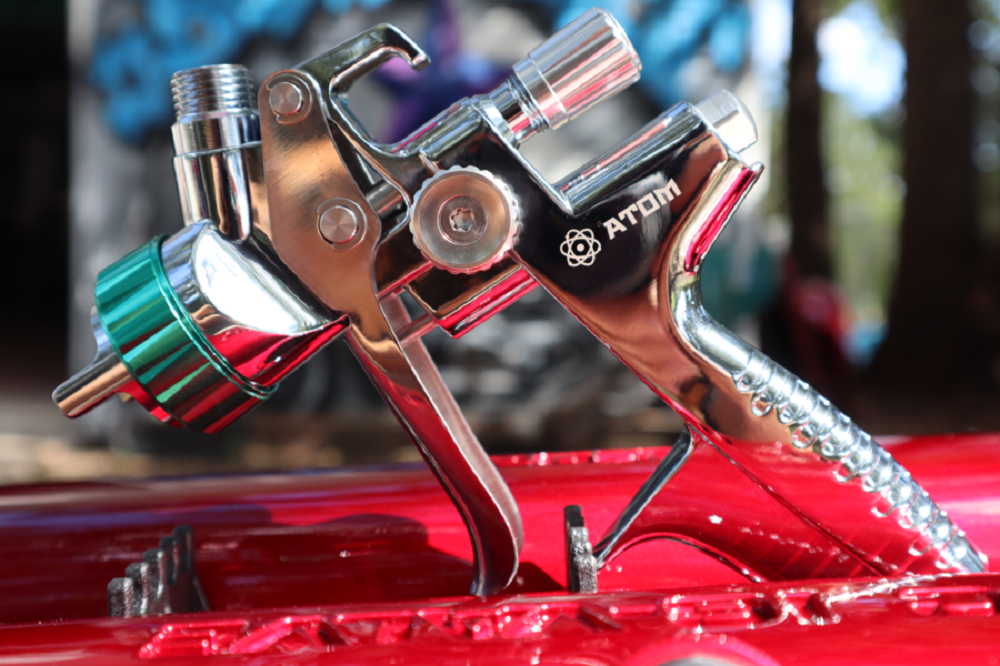
Introducing the new Atom X Series Spray Guns. These are professional spray guns that will give you German and Japanese style, craftsmanship and performance for a fraction of the cost. With a no o-ring design and pure spraying simplicity at its finest. Head on over to Zoolaa and check these awesome spray guns.
Last Updated on January 24, 2020 by Tony
Hey tony what are all the grit i need basically what do i started with then finish with and all the materials i need to do the job
Check this page out and how VIP will help you get on your way. There are certain steps you must take to get pro finishes. https://www.learnautobodyandpaint.com/vip-offer