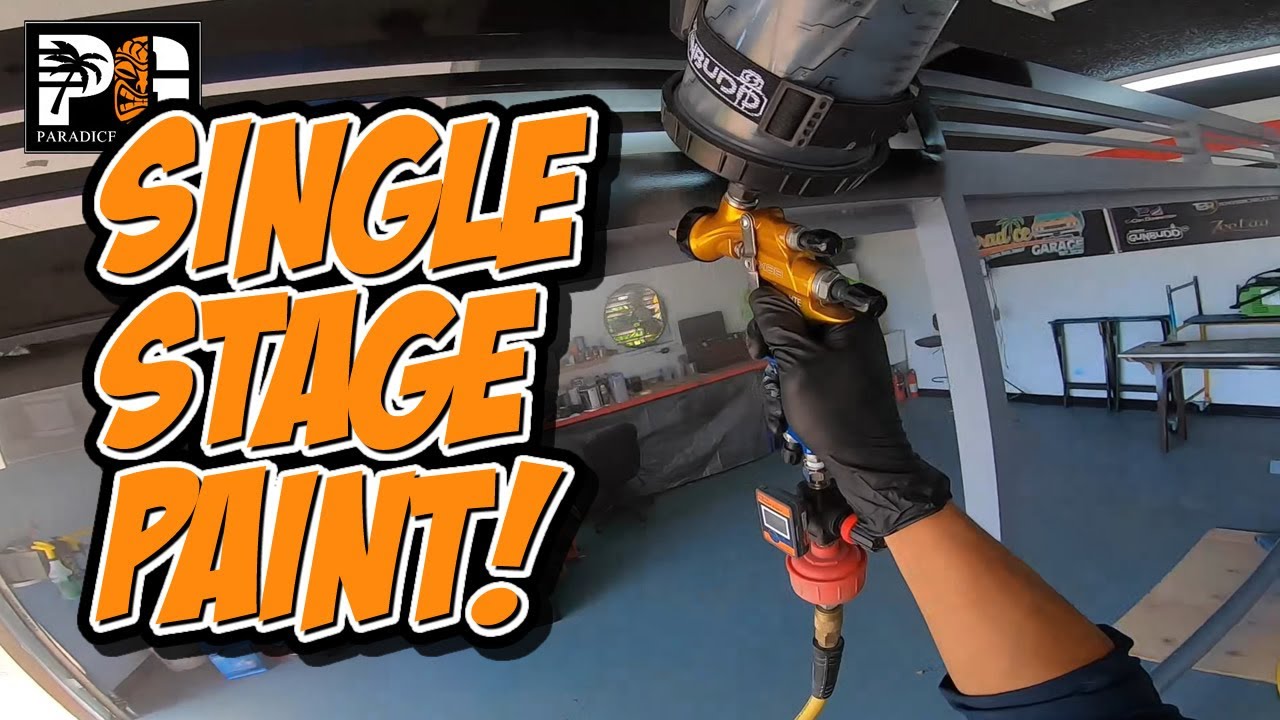
Hey, Tony here from LearnAutoBodyandPaint.com and Paradice Garage! You’re going to learn and you’re going to see how we built a Custom Aluminum Frame Gate and painted it with automotive finishes – a SIngle Stage – ACRYLIC ENAMEL PAINT.
So we just painted this Gate Frame with the Atom X88 spray gun and it came out great. One thing we screwed up on was I ran out of hardener so I had to use another brand hardener at the very end and it gave me a little chemical reaction so I had to stop spraying.
There are two coats on here. I wanted to put three coats and they came out pretty glossy, not bad for a single-stage paint job as you can see, it looks great.
And you know it’s just a gate frame, so you could use automotive spray guns to basically paint anything. And now we’re going to go ahead and cut the slots put them in and the gate will be done.
📌Building and welding the aluminum gate
- Grinding everything down and getting it ready for painting
📌Acid wash complete to remove burn marks
- After welded it up and grinded it. Spray it with an acid wash to remove all of the burn marks from the welds, and then just hose it down, spray down really hard.
📌Sanding with 220 grit to scuff before spraying epoxy primer
- Using a 220 grit sandpaper on a “Dual Action Sander” we’re going to scuff the whole thing down. So we can spray our Epoxy Primer on it.
- There’s a lot of people asking questions what’s better? An “Epoxy Primer” or an “Etching Primer”? Etching Primer is more porous so it absorbs moisture more than an “Epoxy Primer” and epoxy primer is less porous, it has a good seal over metals.
- It’s a good idea to use Epoxy Primers over metals and that’s what we did on this aluminum frame. And that’s what you want to do on metal cars as well.
📌Mixing some 2k glaze putty by ECG to fill pits and holes
- We’re using some EGC 2K Glaze Putty. It’s a 2% hardener ratio, it’s like body filler. It’s like evercoat, super-thin though. It’s a very smooth glaze putty.
- What we’re doing here is filling in some of the seams, some of the pit holes in the weld mark just to go the extra mile and make it look better.
❗For sanding, we use 320 grit. Knock all the high edges off. Smoothen all this putty workout about 30 minutes after we set this up. Then cleaned it off, wiped it, and blew it off. Wipe it down with wax and grease remover and we sprayed our Epoxy on top of that.
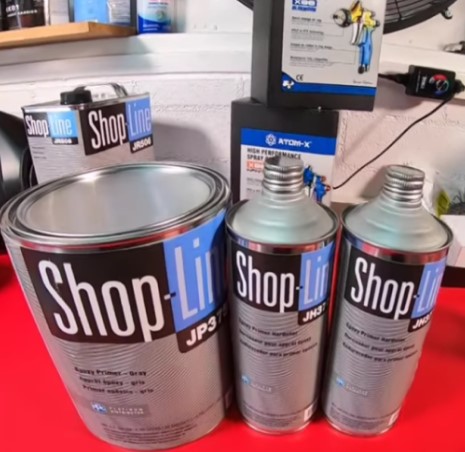
📌Mixing a batch of Epoxy Primer by PPG (SHOPLINE JP375 Epoxy Gray) ❗❗IMPORTANT: Take a look at the unreduced consistency
- Look how long it takes to start dripping. That is when you know your paint is thick. You can also tell by looking at the stick and seeing that you can’t through the stick. If you can see through the stick, you reduced it and mixed it too thin.
📌Mixing ratio Shop-Line JH3770 Hardener
- So this is basically a mixture of hardener then you can add about 10% or more of the reducer to thin it out. So you can spray it out of maybe a smaller tip size. That’s the solution.
- So adding a little bit of reducer, not a lot and this is why being able to mix paint and check out the dripping, consistency is super important.
📌Spraying out of an LVLP Spray Gun with a 1.4 tip
- Primers are meant to spray at a 1.7 -1.8 or 2.0 to get the thick material on but because we’re using a 1.4 we’re going to use this for spraying our black as well.
- Reduced it a very little bit then we’re going to be able to just coat this whole thing. So we’re going to spray with Epoxy, give it a coat just to dust it then we’re going to put two coats of Acrylic Enamel.
📌Spraying 2 coats of Epoxy Primer at about 16 to 17 PSI
- Spraying at such a low pressure that’s because I wanted to keep the overspray down and this gun (ATOM X88 LVLP) was just so nice at that low of a pressure.
- It’s not like we need to atomize so much where we need a glossy finish. We’re just sealing it with an Epoxy primer.
- Normally, if you’re spraying a car you’re going to be putting or doing bodywork or the large panel you’re redoing, after you spray 2 or 3 coats of your Epoxy like this, you’re going to filler prime it, put 2k filler primer.
- On top of that, two coats, give or take. Block that out and then you could paint directly over that or you can do the extra step and put a sealer on top of that. Then put your basecoat-clearcoat or your single stage enamel.
- For this gate, all we did is coat it with our Epoxy(2 coats)
- Make sure to spray it on where it wasn’t dry. Spraying on kind of glossy as you can see here (8:17) and we put a good coat on it.
- We want to really have a dry coat on it because the drier it is the more porous it is. The wetter it is the better it can seal.
- The Epoxy that I used is basically has a better sealing compound to it than a regular 2k filler primer.
- I didn’t even sand it(gate), I just sprayed two(2) heavy coats of Single Stage Acrylic Enamel Paint and it came out really good.
✅ When doing bodywork on a car, the method is a little bit different but give or take, it’s the same as well.
📌Always clean your guns after spraying
- When you’re doing any type of work using the same gun, you want to make sure you clean your guns after you’re done. You don’t have to clean it in between coats but when you’re done with primer, spend 5 minutes and clean it.
📌Mixing single-stage Black Acrylic Enamel
- So I got some Single Stage Acrylic Enamel Paint of eBay. It’s called Excel Auto Body products. Pretty good black if you ask me.
- 8:2:1 means eight parts of your paint, two parts reducer, one part hardener which is optional. But when you’re spraying single stage or any kind of acrylic enamel, you always want to put hardener. It’s going to dry harder for you, it’s going to be more durable and it’s going to last longer because you could spray this stuff without a hardener but you don’t want to do that. ✔Correct way is to get hardener.
- Setting it up – they recommended a 10 PSI cap pressure and we’re not pressurized spray gun system.
📌Spraying Single-Stage Enamel Paint
- Measuring from the digital gauge that we have and normally you want to be spraying single stage at anywhere from 24-25-26 PSI trigger pulled.
- With this spray gun (ATOM X88 Bluemoon) for some reason, it can really get a good gloss and I was spraying at about 18 PSI.
- I upped it up a little bit from spraying our primer, just a little 18 or 19 and it was laying on really well.
- Our reason why was because I wanted to keep the overspray down because I had my garage doors open. I couldn’t close the garage door because this thing (Gate Frame) was just so big and there was no way it couldn’t even fit in the garage. And I parked it painted part of my house and we’re not afraid to lay it on.
❗❗IMPORTANT❗❗
When you’re painting Single-Stage – Acrylic Enamel Paint on cars or pretty much anything, you want to lay at least at the minimum to medium wet heavy coats. The first coat is always gonna come out.
I wouldn’t say the first coat will not come out as glossy as your second coat. You want to get it on glossy, but you might have some of that texture on that orange peel. So make sure you’re putting on too heavy to wet coats.

Anyway, I hope you enjoyed the series. This is pretty much it. We’re gonna have a lot more car customizing projects and paint videos coming out soon but let me know.
Comment down below your main takeaways of this (HOW TO SPRAY WET ACRYLIC ENAMEL PAINT). Hope you liked it. Hope you learn something and if you’re a total newbie you want to learn how to do this stuff.
Don’t forget to check out learnautoabodyandpaint.com by clicking the link in the top right of this video, in the card section, or in the description down below. Click that “Get FREE Auto Body Training” and downloadable PDF because you could do this with pretty much anything with automotive paints, anything you can think of.
You could just bang it out and get it done and make it come out NICE.
================
All right. Thanks for watching. We’ll just close it off, and show you the finished product. Hope you like it. And again, don’t forget to SUBSCRIBE on my YT Channel PARADICE GARAGE. SHARE, LIKE the video, and COMMENT down below. Let me know what are your thoughts again, and I’ll see you in the next videos.
– TONY
🔎Check out the links below for more helpful Auto Body videos🎥:
How To Prep and Spray EPOXY PRIMER Over Aluminum Rims and Steel Parts
DO THIS! Spraying CAKED UP 2K Primer on RAW Plastic and Epoxy Primer
Three (3) Stage Pearl Paint Job – AutoBody Q&A
DEAD SIMPLE! How-To Mix Any Brand of Automotive Primer or Paint!
The Three (3) Ways to SAND: Wet Sanding VS Dry Sanding Plastic Parts – The Pros and Cons!


Hey Tony
I was checking out your painting how too. Was interested in your FREE DIY Book signed up for it and nothing!
no Download PDF or anything arrived! Not sure if this is just a glitch. Was going to consider joining after I took a look at the book.
Maby your could take a sec and address that?
Mike
Hi Mike, thank you for showing interest in Learn Auto Body and Paint. The support team will email you the details about the book, so check it out! 😎